You are hereMake Your Own Cannabis Capsules (Canna Caps)!
Make Your Own Cannabis Capsules (Canna Caps)!
by Sirius Fourside
Major thanks to the person from whom I learned this recipe, Old Hippie. You can check out his original article here: http://beyondchronic.com/2011/01/how-to-make-your-own-canna-caps/
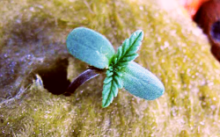
 Cannabis
has been gaining more and more legal ground with Americans lately.
Nearly half of US states are medical states, two states have
already legalized cannabis across the board, and many more states
are attempting 21+ legalization in their upcoming ballots.
Cannabis
has been gaining more and more legal ground with Americans lately.
Nearly half of US states are medical states, two states have
already legalized cannabis across the board, and many more states
are attempting 21+ legalization in their upcoming ballots.
Unfortunately, with this newfound popularity, there are many people getting into the business of providing people with medicine that isn't quality checked. We know of another cannabis advocate who was recently hospitalized shortly after using a cannabis extract that still contained poisonous isopropyl alcohol!
Fortunately, you can make your own extracts using only items that are 100% safe for consumption!
In this article you will learn to make cannabis caps using only cannabis and coconut oil as the main ingredients. And cannabis caps aren't just safe to consume, they're safe to make! There is no fire or flammable liquids; the most dangerous part is baking your cannabis in an oven at 225°F! Let's get started!
What You'll Need
- 5.5 grams of cannabis
- Buds or trim can be used; buds produce a much stronger effect.
- You can easily reduce or increase the amount of bud/trim used depending on your tolerance and preferences. This recipe gives a starting guide to potent caps that most find effective but not too strong.
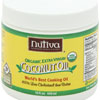
- 1/4 Cup Extra Virgin Coconut Oil (We use Nutiva brand)
- Empty "00" size gelatin capsules
- Gelatin capsules work best.
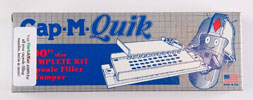
- Cap-M-Quik Capsule filling machine
- It's possible to fill the caps one at a time, but it's very cumbersome.
- 10ml Syringe (Oral Irrigator with Tapered Deep Reach)
- The tapered reach makes it much easier to fill capsules without spills.
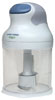
- Crock Pot (16oz 'Little Dipper')
- You can use a different crock pot, but the small size is important.
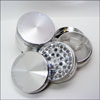
- A small food processor
- We use the 'Black & Decker 3 cup food chopper'
- You can substitute a food processor with a grinder. It will waste less material, but it becomes cumbersome as you have more bud/trim to grind.
- Cheesecloth
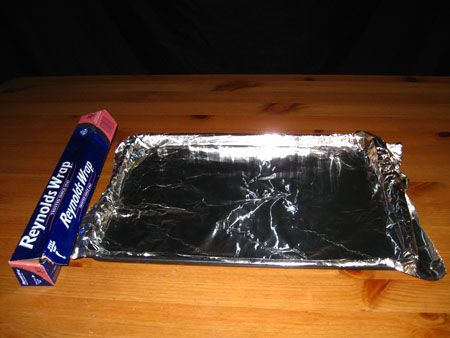
- Baking sheet (sometimes called a cookie sheet)
- 2 small microwave-safe containers
- Aluminum foil
- A couple of rubber bands
- Timer
- Needs at least 3 hours; most cellular phones can accomplish this.
- 1/4 cup measuring spoon
Literally every item listed above (except the cannabis) can be purchased on Amazon.com. Get links to all supplies below. It's definitely the easiest and most time efficient way to get your supplies if the price is right for you.
A Word of Warning:
The process of decarboxylating and cooking your cannabis in oil will make something that can only be described as 'an insanely potent cannabis smell'. Our solution (since we don't share vents/air with neighbors) is to keep the smell bottled up in our house for the entire cooking time, and then filter it (Ona gel, incense, etc.) once the caps are done and the smell isn't being produced any longer.
Making Your Cannabis Caps
- Line the baking sheet with aluminum foil. This prevents cannabis from becoming stuck to the sheet.
- Preheat your oven to 225° F.
- Measure out 5.5g of cannabis buds/trim (we'll assume they're buds from here on).

- Lightly grind your buds/trim so they cook more evenly.
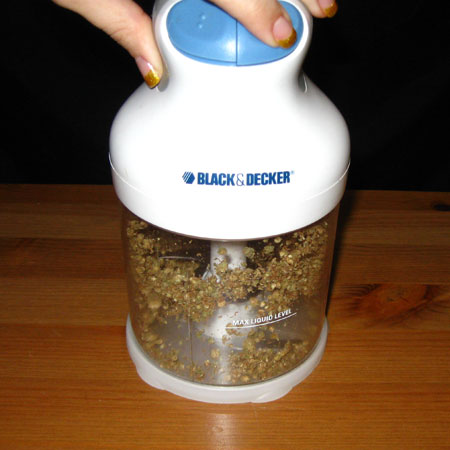
- Food processor: Low setting for 5 seconds.
- Hand Grinder: Grind pieces to pinky-nail size or smaller.
- Spread your ground-up buds over the aluminum foil on the baking sheet.
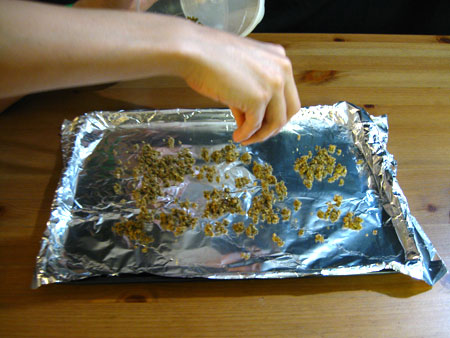
- Place the baking sheet in in your oven and set timer to 1 hour. This is where it starts getting really smelly!
- While you're waiting, you can prepare steps 7 and 8.
- Plug in your cock pot. It will turn on and immediately start heating, but it takes a while to fully heat up. I usually turn it on right after I put the buds in the oven.
- Measure 60ml (1/4 cup) of virgin coconut oil and add it to the crock pot. You can leave it heating up while your buds are cooking.
- Once the buds have finished baking for an hour, remove them from the oven and grind them up again until they are fine.
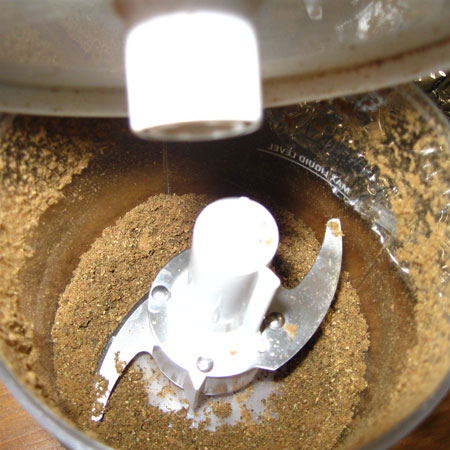
- Food processor: High setting for 20 seconds.
- Hand Grinder: Grind buds to super small pieces.
- Add the newly ground bud to the crock pot.
- Stir the mixture and allow it to cook for 3 hours.
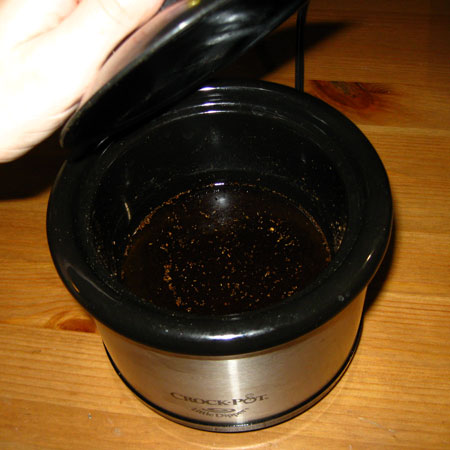
- We allow it to cook even longer, usually overnight for convenience, but we haven't tested enough yet to verify that there are benefits to doing so. Let us know what you find!
- Make sure to stir the mixture at least once every half hour for the first few hours; don't use plastic to stir the mixture!
- Set up your Cap-M-Quik per the directions on the back of the box. You won't need the tool called a 'tamper' for this since you're working with a liquid instead of dry herb.
- Set up 50 capsules in the Cap-M-Quik per the instructions on the back of the box. The tops of each cap should be held in one of the two containers so they don't get lost.
- Cut off a square of cheesecloth. It should be a bit more than twice the width of the microwave-safe container.
- Fold the cheesecloth in half (so it's twice as thick) and place it
over the container. Hold the cheesecloth in place with a rubber band.
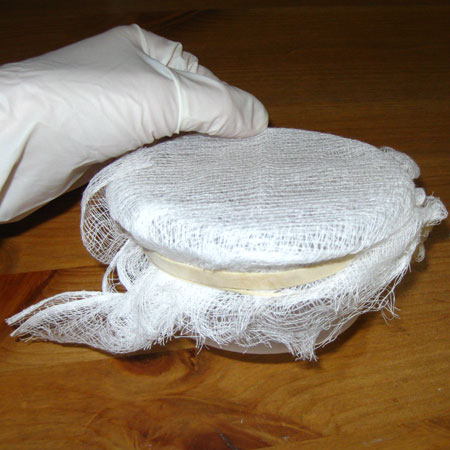
- When you're done cooking your oil, unplug the crock pot and let it sit for 15 minutes so it can cool a bit.
- Slowly pour or spoon the contents of the crock pot onto the cheesecloth; oil should slowly drip/pour into the container.
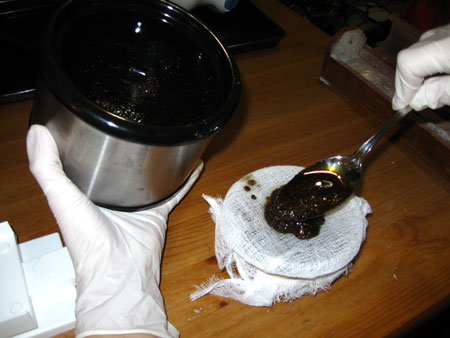
- Once done, untie or cut the rubber band(s) from the container
without letting the cheesecloth fall in. Bundle up the bud, and squeeze
as much oil as you can from the cheesecloth/bud. Make sure all the oil
goes through the cheesecloth so it filters out the bud.
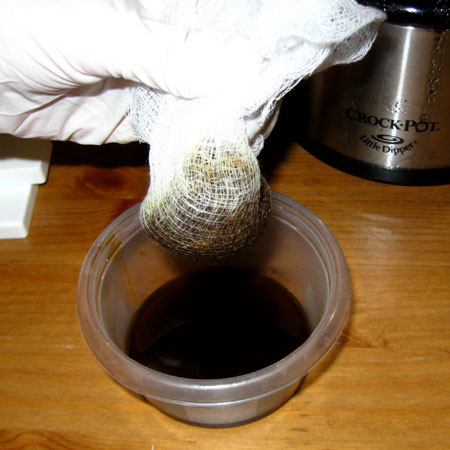
- Don't worry, getting a little bud in the pills won't harm you.
- Throw the wrung-out bud into your garbage disposal, and securely dispose of the cheesecloth.
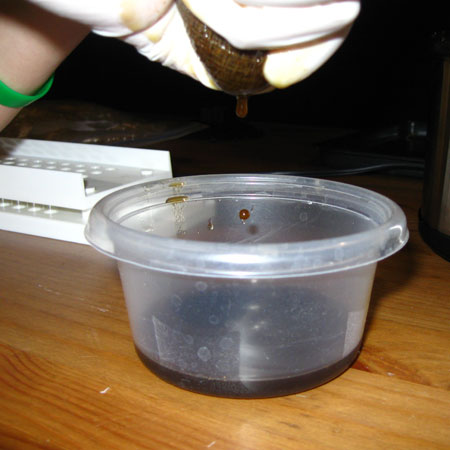
- Use the tapered syringe to to suck up the cannabis-laden coconut oil, and gently fill the caps one at a time. Be careful not to overfill the caps.
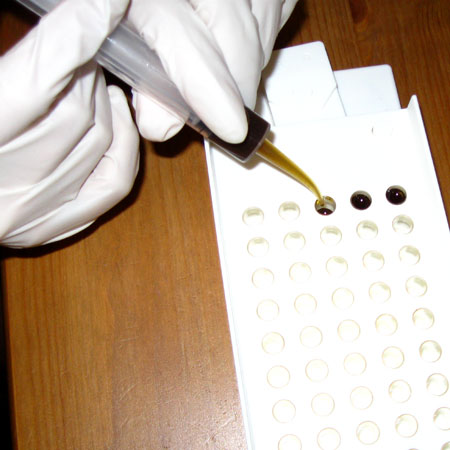
- If the syringe gets blocked up, squirt some oil back into the container to clear the blockage.
- When done, close the capsules per the instructions on the back of the Cap-M-Quik. When you put the tops on the caps, you should notice a *snap*.
- You may need to press harder than you'd guess to get the caps to *snap*. It's caused by two ridges connecting to keep the two sides of the cap together.
- If you overfilled any caps, empty the finished caps onto a paper towel and gently clean the oil off the outside of any capsules.
- Place the finished caps into a container and refrigerate until you're ready to use them. They don't need to be thawed! They will turn a lighter color after they're cooled, due to the coconut oil solidifying.
There you have it! You should have about 50 (depending on the chef) cannabis pills ready for consumption. Remember that the amount used in this tutorial are just beginning amounts. You could easily adjust this recipe to make more caps, and to make them much weaker or stronger.
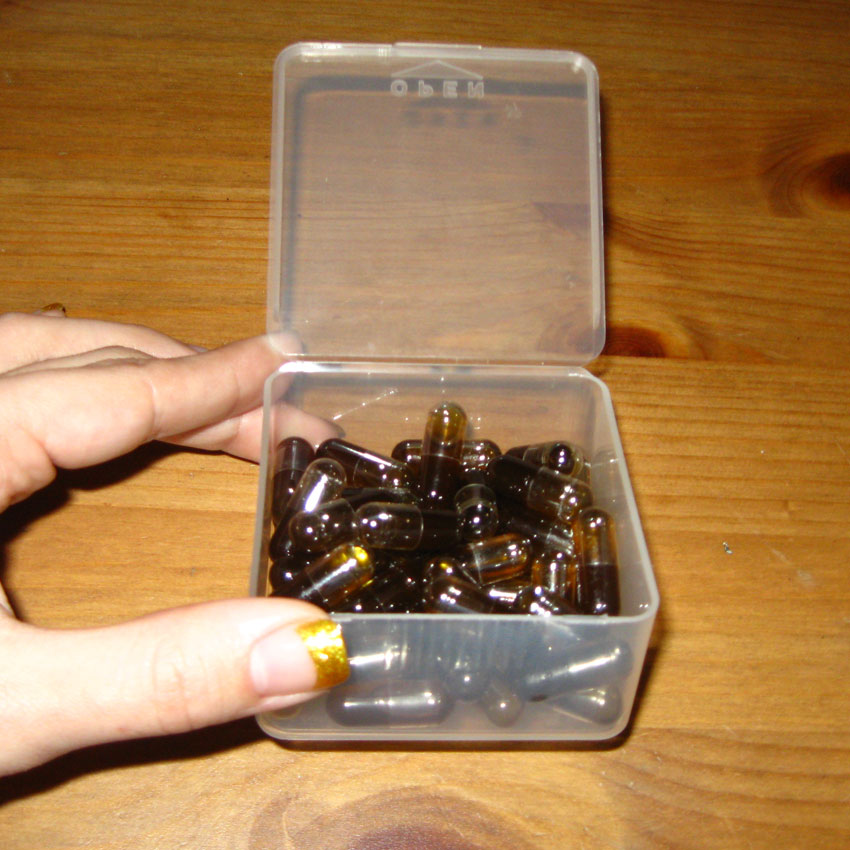
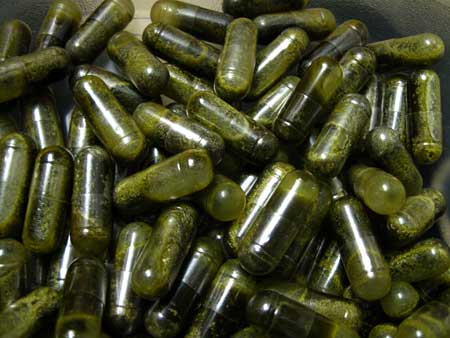
This is what Canna Caps look like after they've cooled off...
All that dark stuff is cannabis oil!
Get All The Stuff You Need to Make Cannabis Caps!
You have the knowledge, now you just need the tools to make your own caps! The odds are that you already have about half of the items you need to make caps of your very own, and most of the materials last quite a while so they end up being cheap in the long run. Get started today!
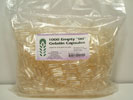
Empty "00" size gelatin capsules
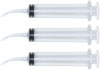
(Oral Irrigator with Tapered Deep Reach)

Crock Pot (16oz 'Little Dipper')
Food processor (for larger amounts)
Jump to...
How to make cannabis extract oil (Uses solvent)
Can epilepsy patients use medical marijuana to prevent seizures?
Feeling anxious? Learn about medical cannabis strains that may be able to help
See all grow topics on GrowWeedEasy.com!