You are hereSpace Buckets - Start Growing Marijuana For $100!
Space Buckets - Start Growing Marijuana For $100!
by Ekrof of SpaceBuckets.com
Forward by Nebula Haze: Space Buckets are easy to build at home, and will allow you to grow small amounts of marijuana in a way that's low budget, simple, and doesn't need a lot of room.
Unlike other, more expensive grow methods, a starter Space Bucket only costs about $100 to make.
Ekrof has created a thriving community and official website dedicated to helping growers ("bucketeers") get the most out of their Space Buckets.
Today Ekrof introduces you to the basics of creating your own Space Bucket.
Get started growing today!
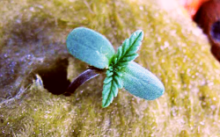
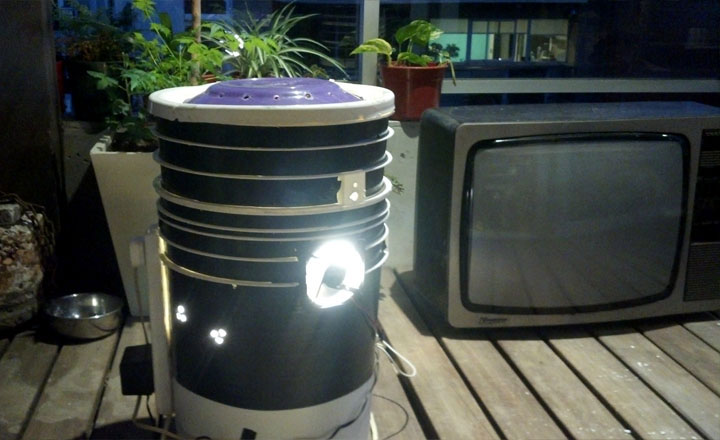
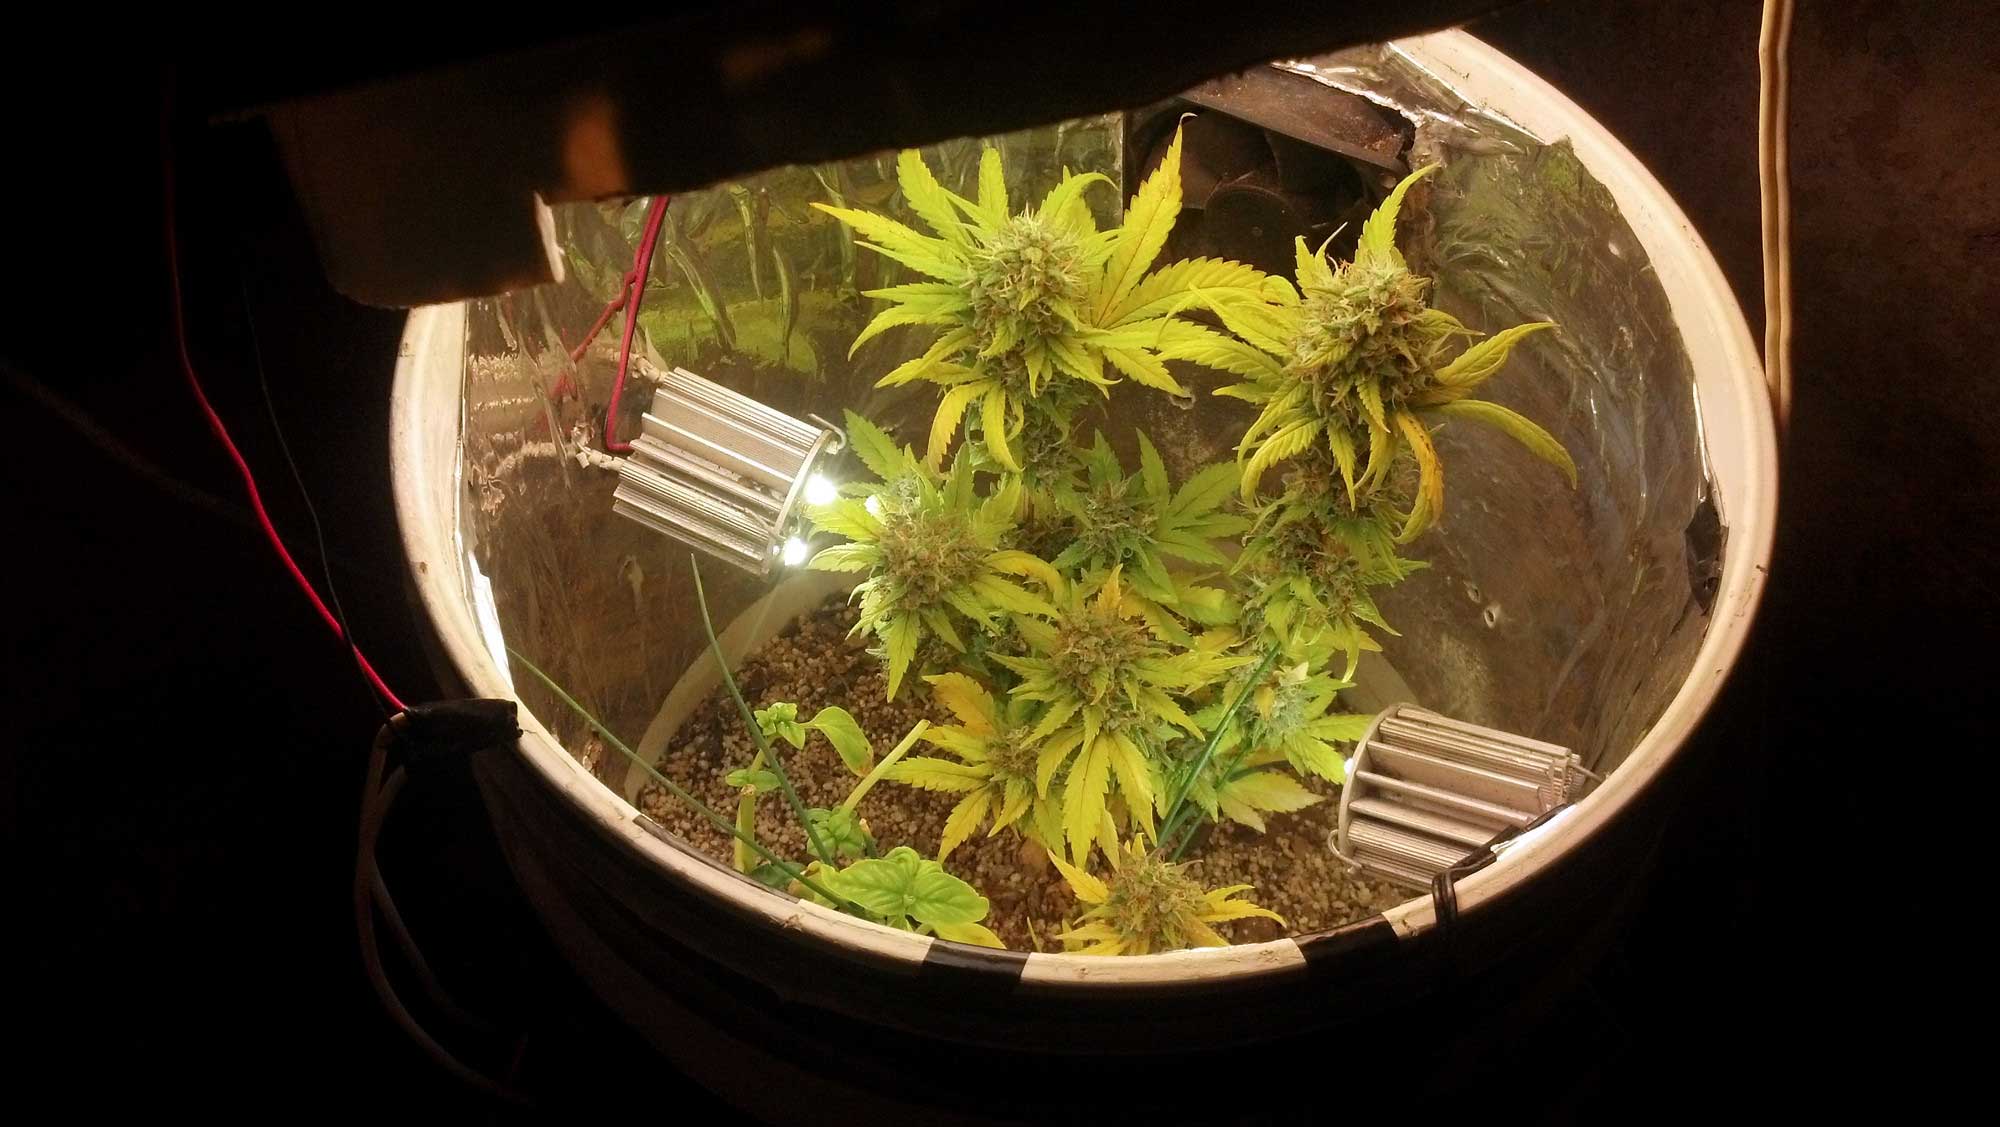
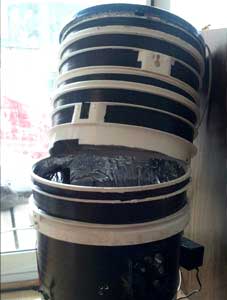
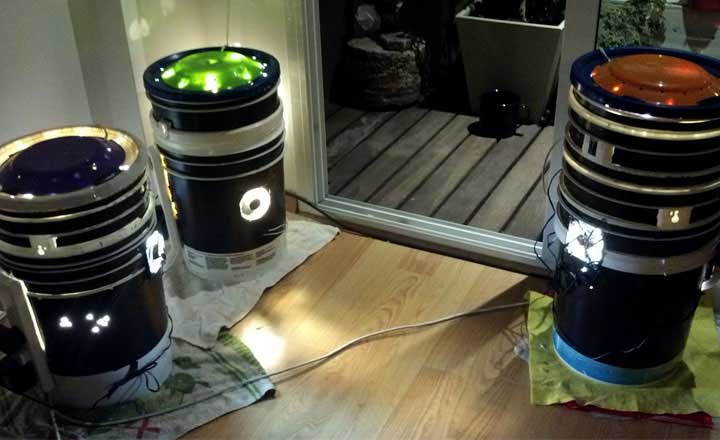
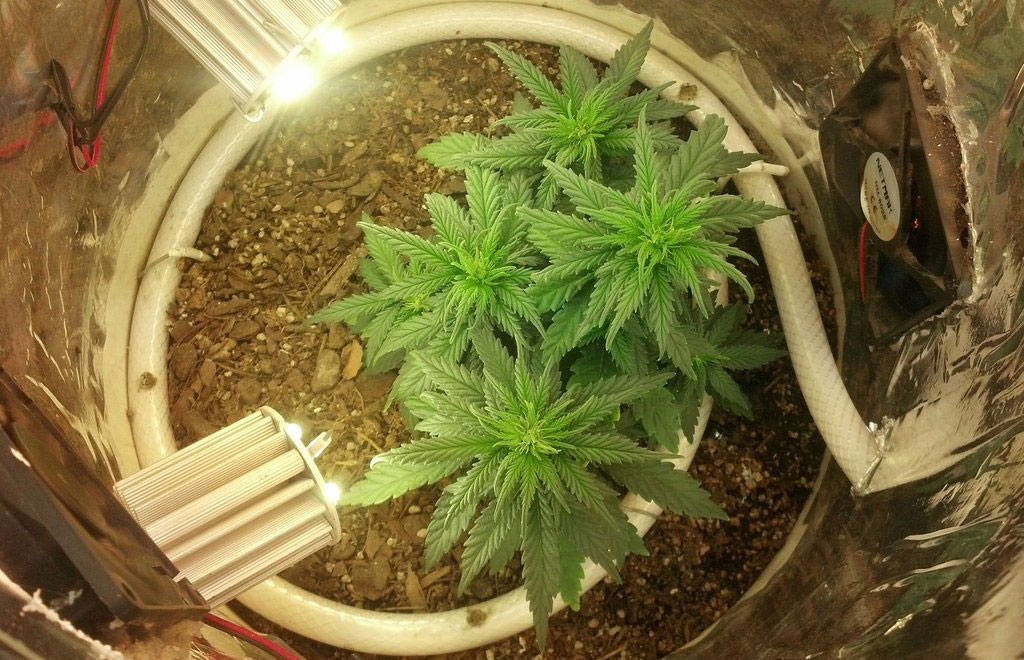
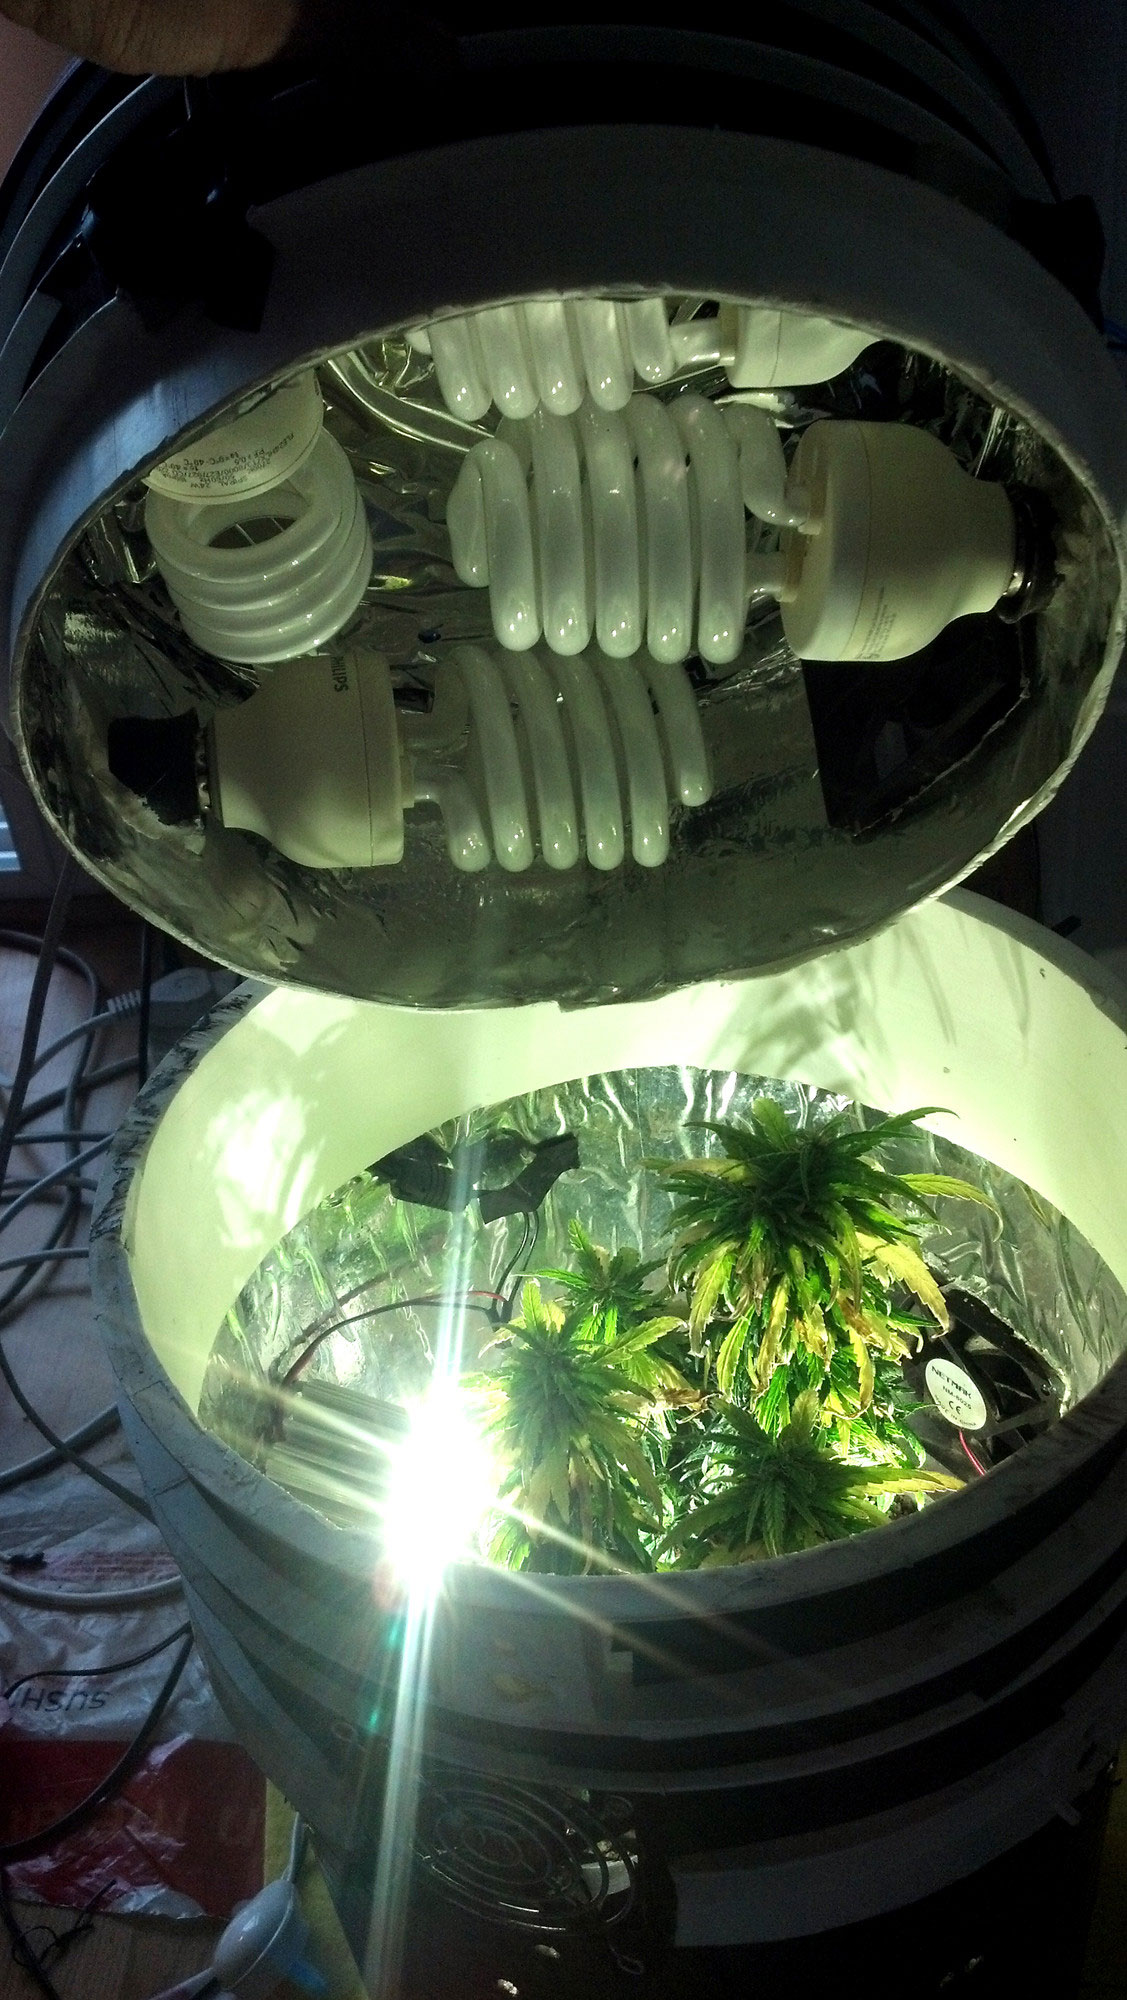
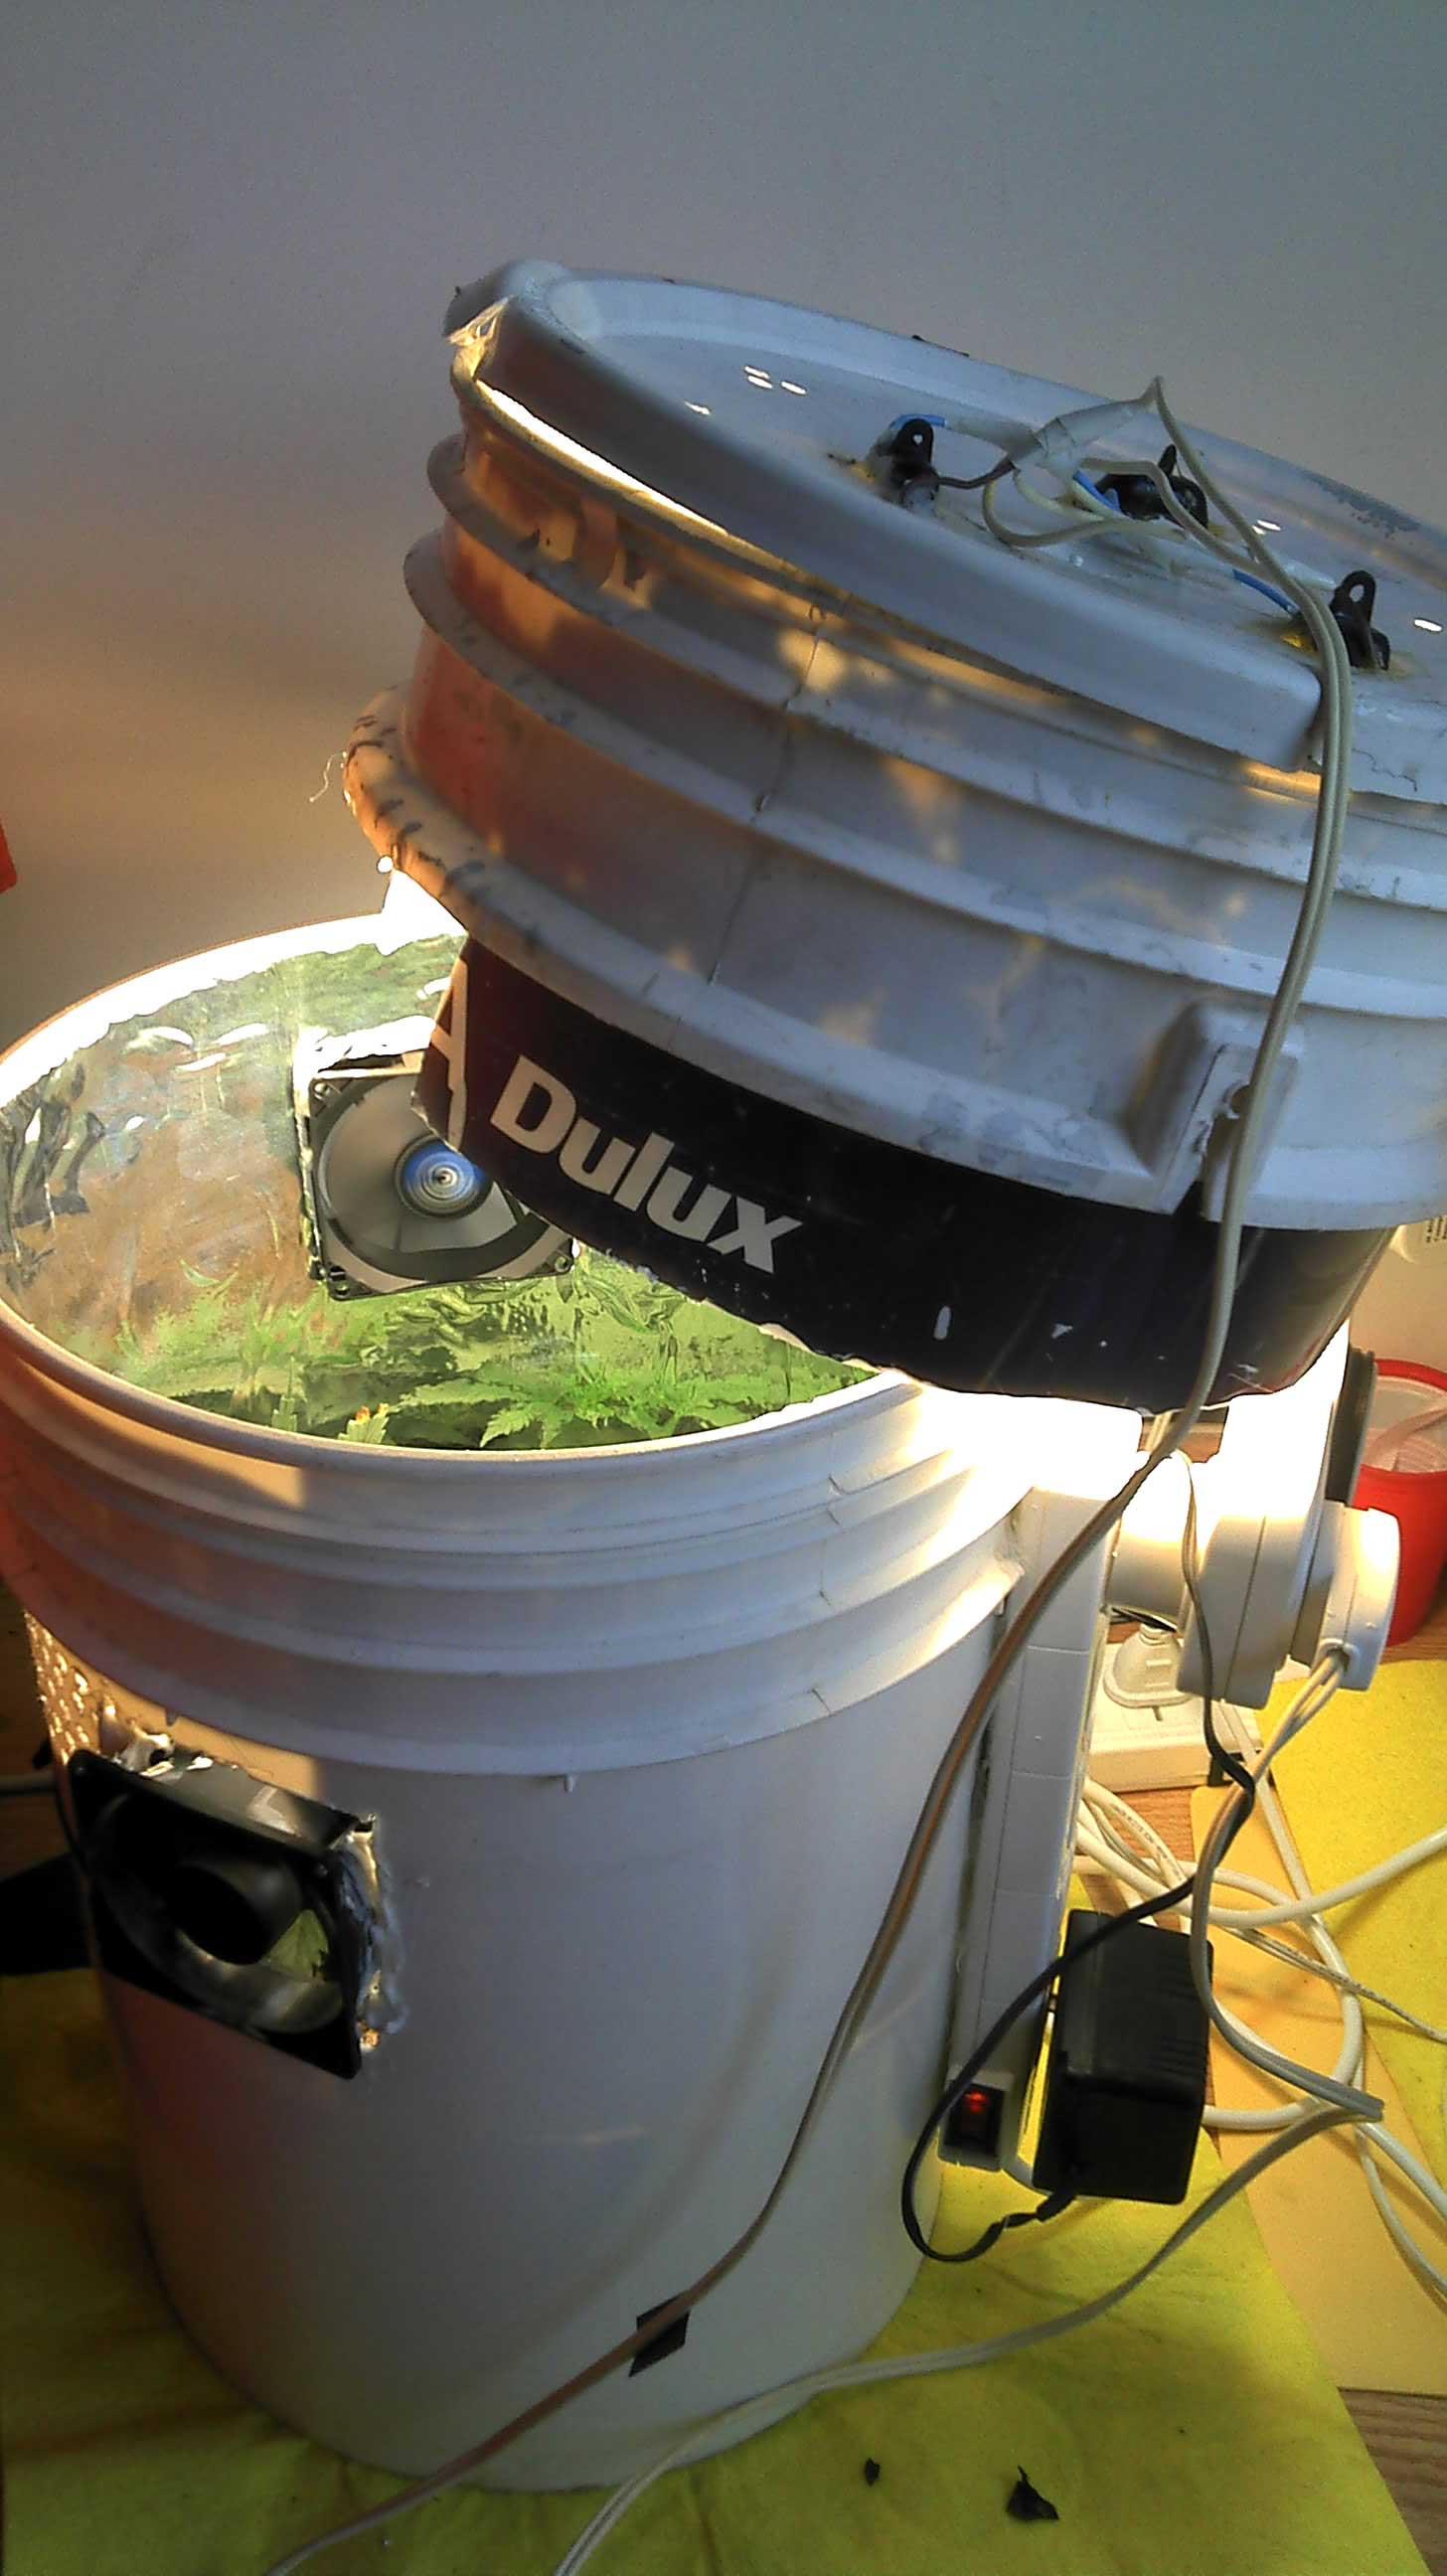
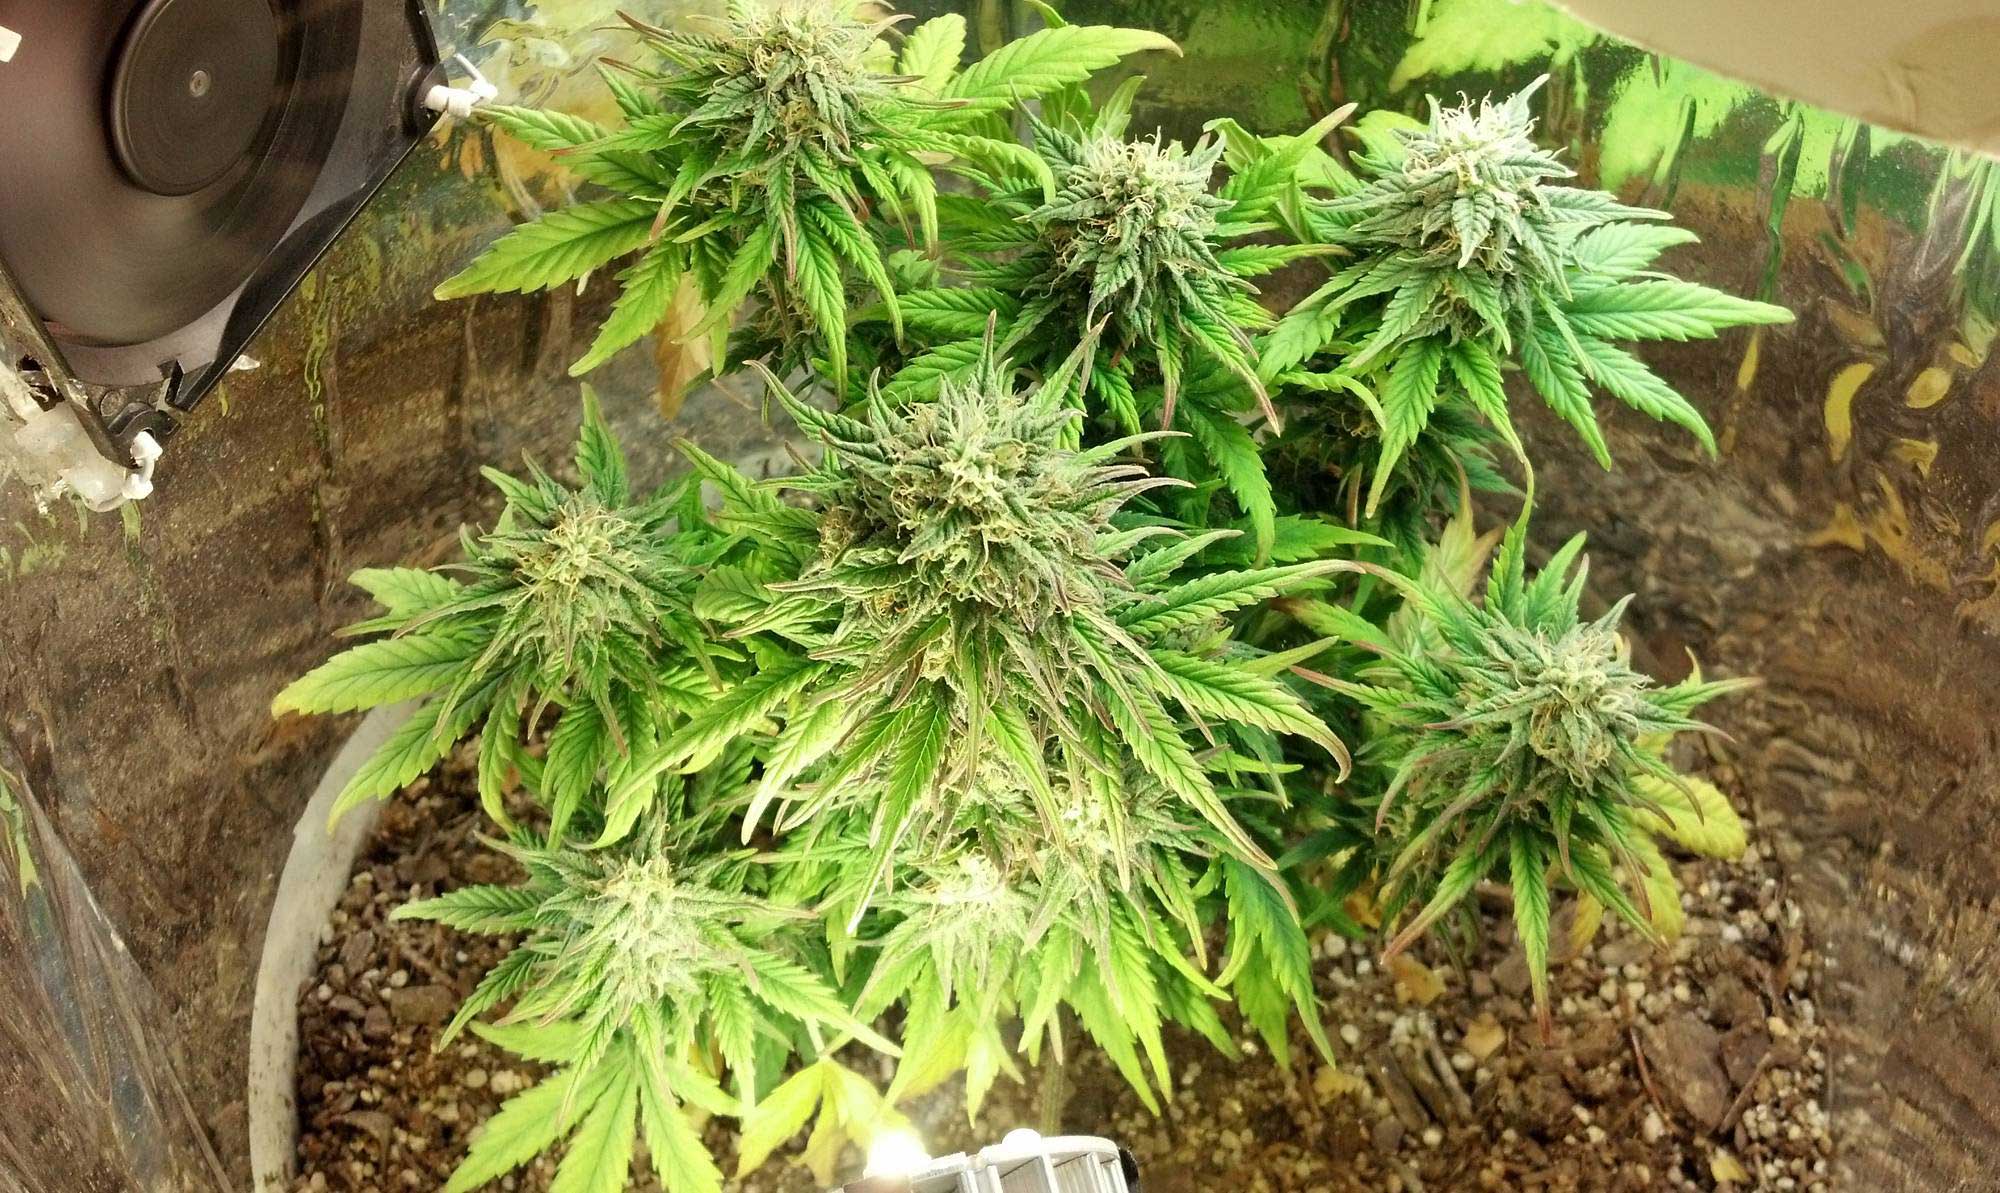
Example of a Space Bucket in Action
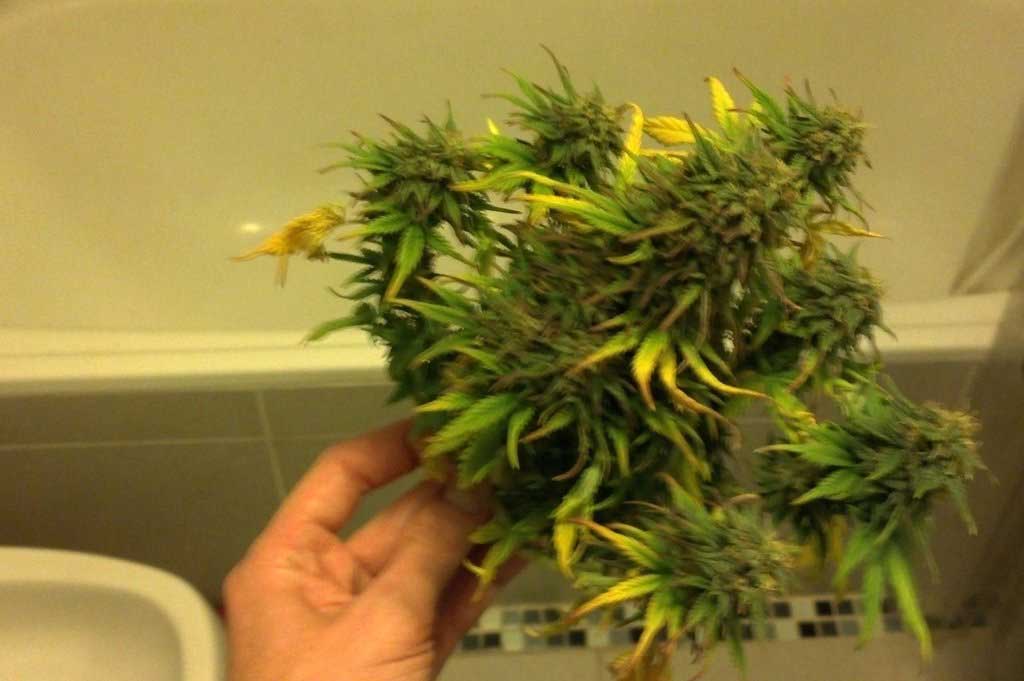
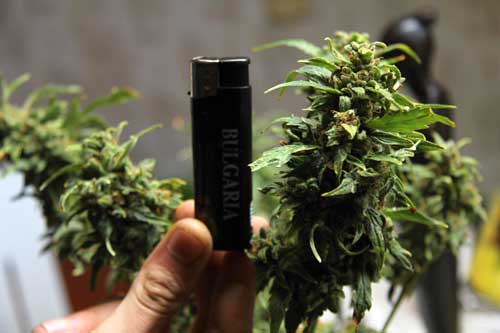
A Space Bucket Harvest
(Average yield is 20 grams to 1oz. You can get up to 2oz with the skills of a bucket wizard)
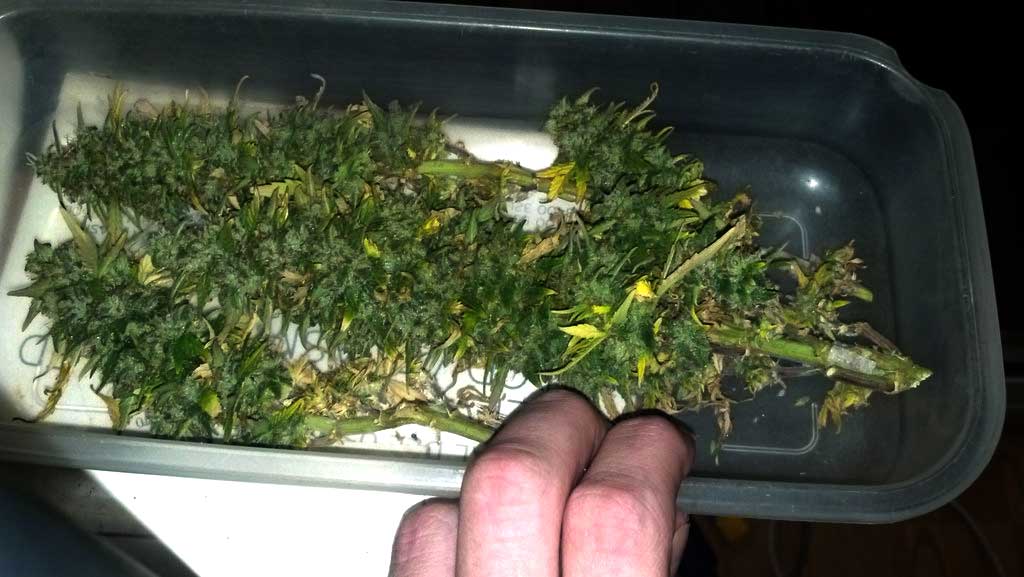
Table of Contents
Space Buckets are easy to make, and require readily available items. You won’t need to find anything special.
Total investment? About $100
Items Needed to Make a Space Bucket:
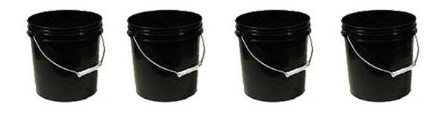
4 x 5gal (20L) buckets, and one lid (you can use more buckets for a taller Space Bucket / bigger plants)
3+ 23-27w CFL bulbs with E27 sockets
(more light is better, but too much heat is a concern), don't forget wire nuts!


Optional: 42w CFL bulbs may also be used in addition

2+ PC Fans and a 12v power supply (use more fans for additional cooling)


Any kind of reflective material (like white paint or Mylar)
Optional but recommended: black masking tape

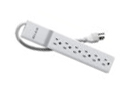
A nice power strip with surge protection
A standard 24h timer to automatically turn lights on and off


Some wire, glue and other minor tools you probably already have around the house
That's it!
These grow buckets can be made in a few hours, and only basic knowledge of the dangers of electricity is needed. A few steps in the following guide were simplified for the sake of legibility and common sense. This guide with electrical safety tips should be read thoroughly.
Step 1: Build Main Casing For Space Bucket
A.) Make holes in bottom of one bucket for water drainage
 Pick your best looking bucket and make some holes in the bottom with a hot screwdriver. This will enable water drainage once the soil and plant is put in. It's recommended to put some rocks on the bottom of the bucket, they will keep the bucket from getting clogged.
The more drainage, the better.
B.) Place reflective material on inside walls
Next, put reflective material on the inside walls, it sticks neatly with any kind of glue (and a little patience).
If you happen to have white buckets, this covering is optional, as the walls will be very reflective. Aluminium foil is usually not recommended for safety reasons.
C.) Cover outside with black tape or paint to light-proof your bucket
Also, don’t forget to cover the outside walls with layers of black tape or paint, this will make the Space Bucket mostly lightproof and will let you control light leaks.
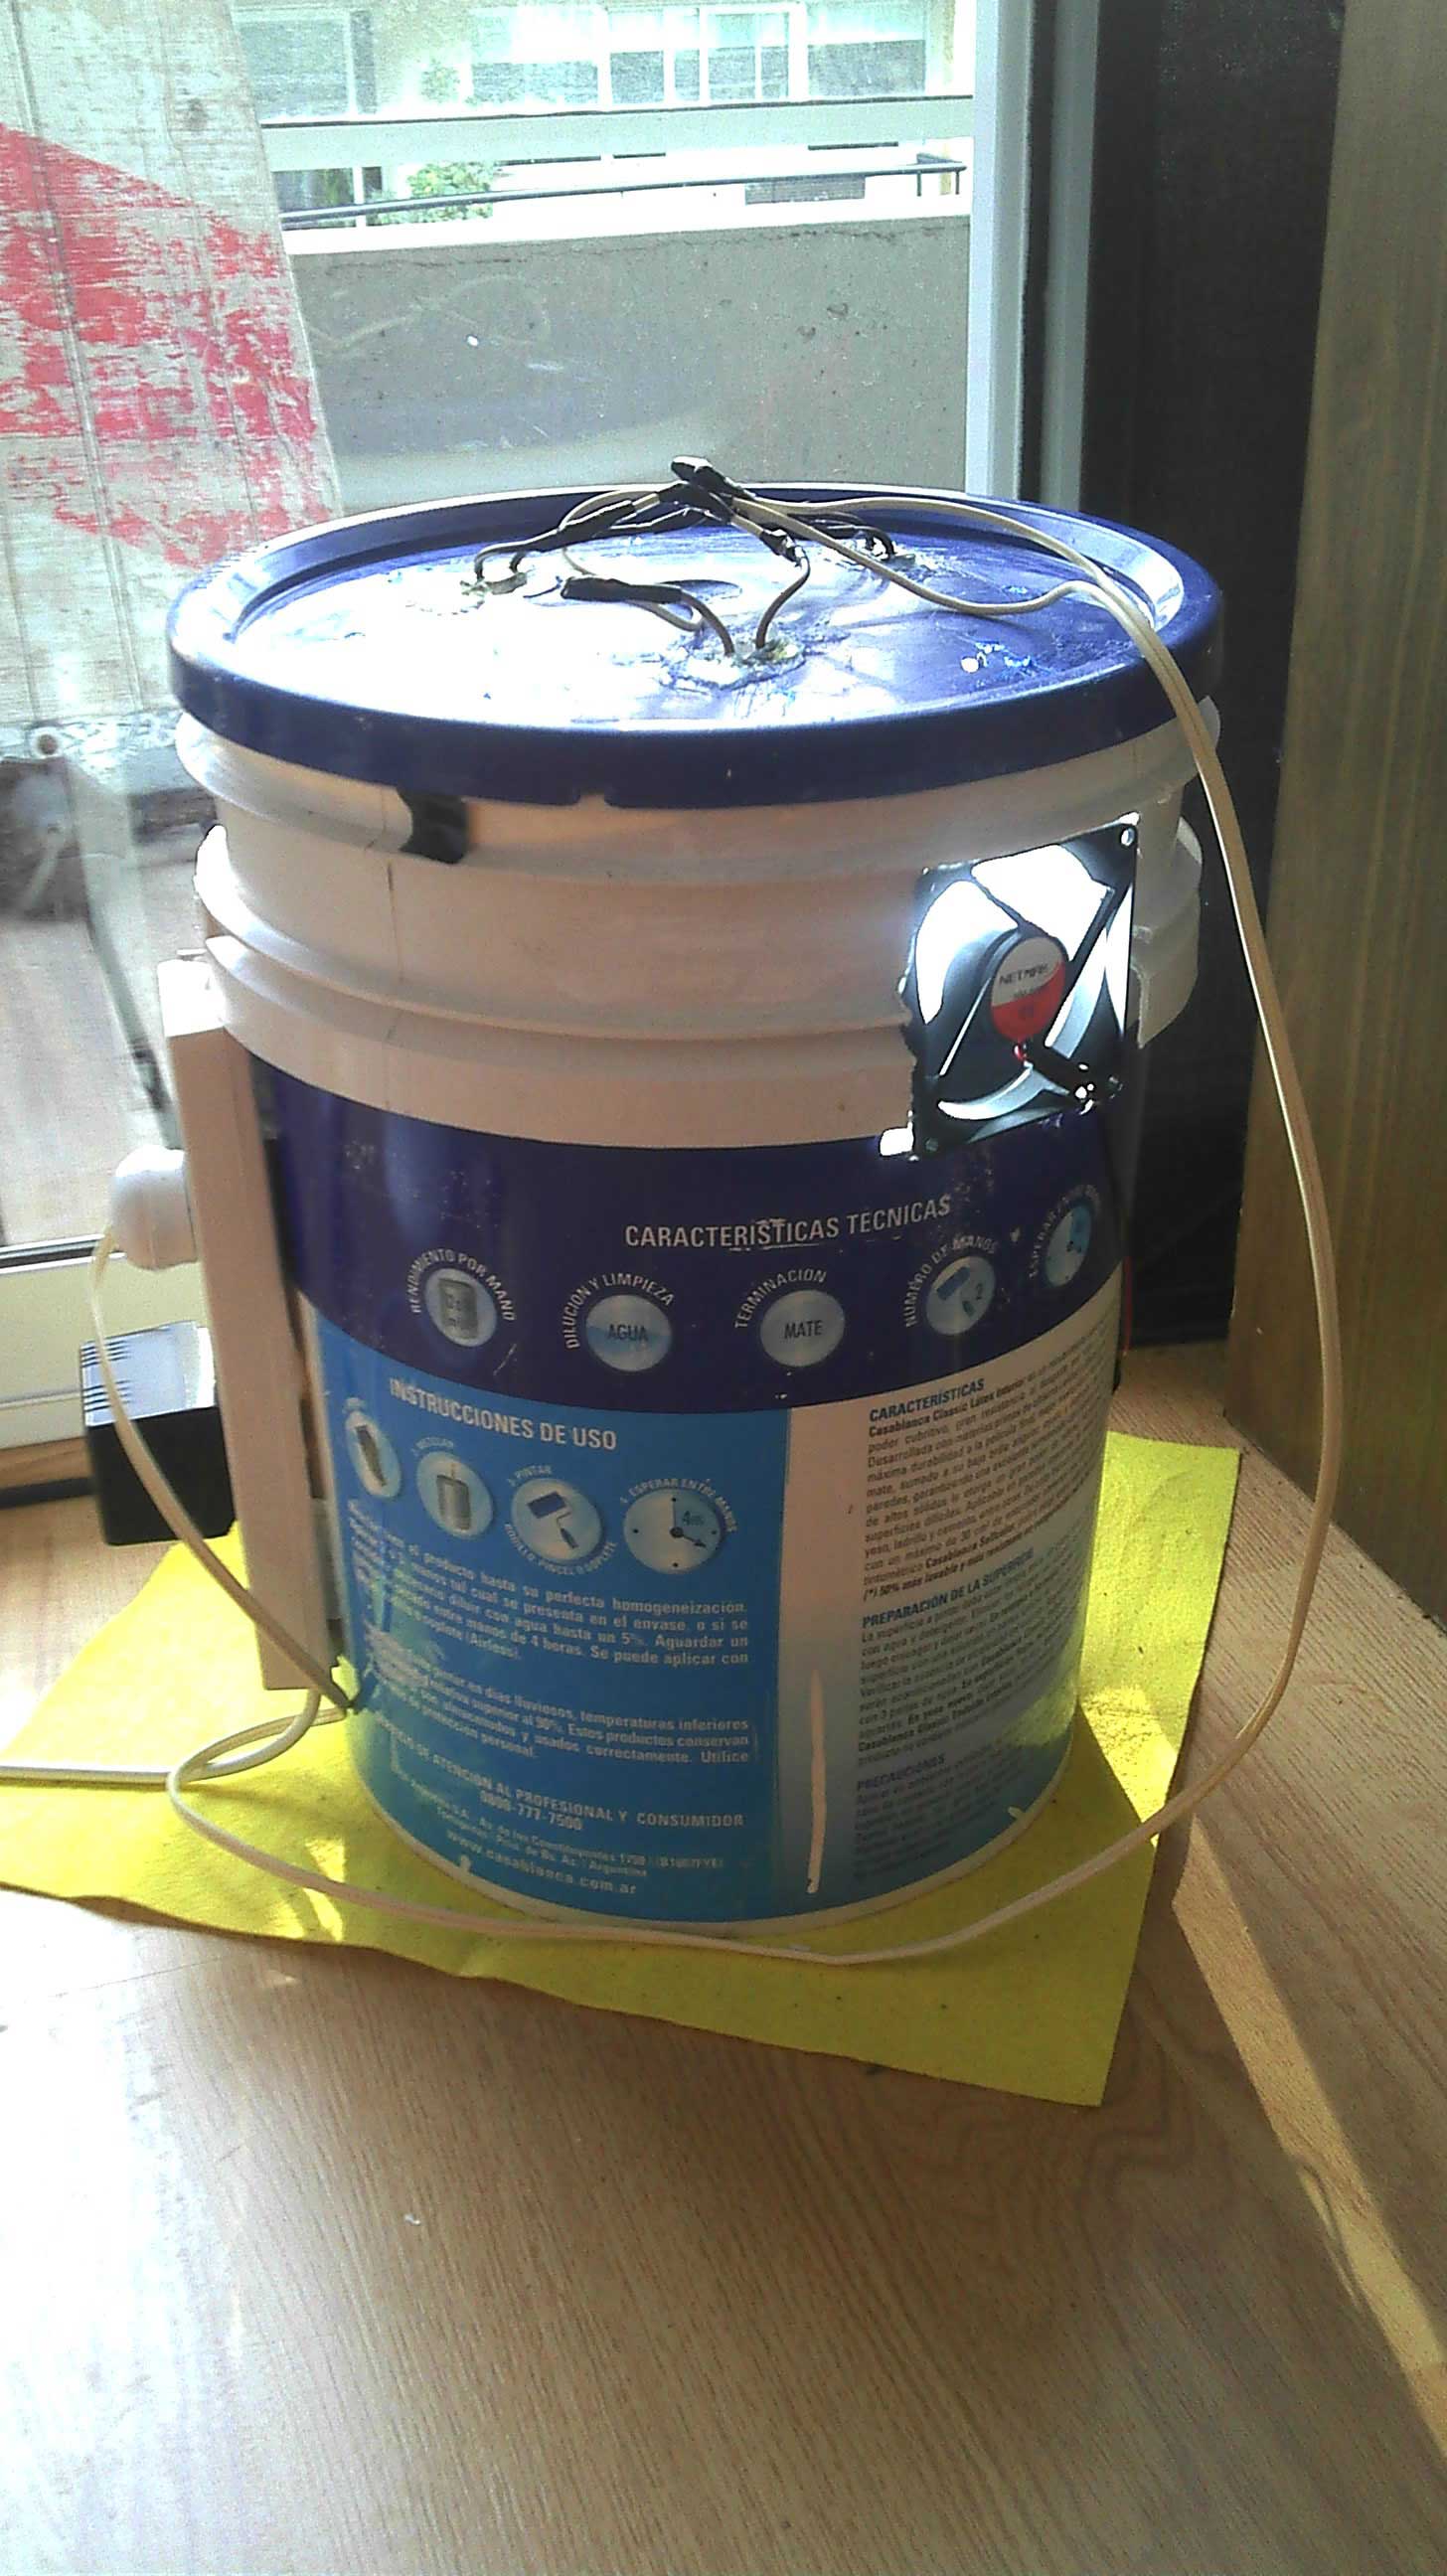
Step 2: Create Your Exhaust System (Intake & Outtake Holes with fans)
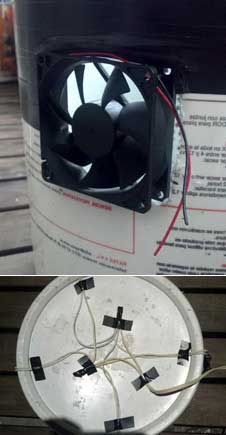 Cut 2 holes on opposite sides of the main bucket (a hot knife can be used to melt the plastic).
These will hold the PC fans (8×8 or 12×12) so you will need to cut them to size. It's best to have a tight fit and apply some pressure, as bucket walls bend.
Once the fans are in place, connect the 12v power supply to them.
Make sure the power supply has the right amperage (a standard one with 1A can run at least 2 or 3 fans).
One fan will act as the intake, the other as exhaust.
That means that one fan should be pointing in (intake), and the other fan should be pointing out (exhaust).
Nebula's note: If one fan is bigger than the other, use the bigger fan for the exhaust (pulling air out of the bucket). Pulling hot air out is more effective than trying to push cold air in. Whenever possible, it's generally recommended to place your exhaust/outtake hole closer to the top, so that it is pulling out the hot air close to your grow lights.
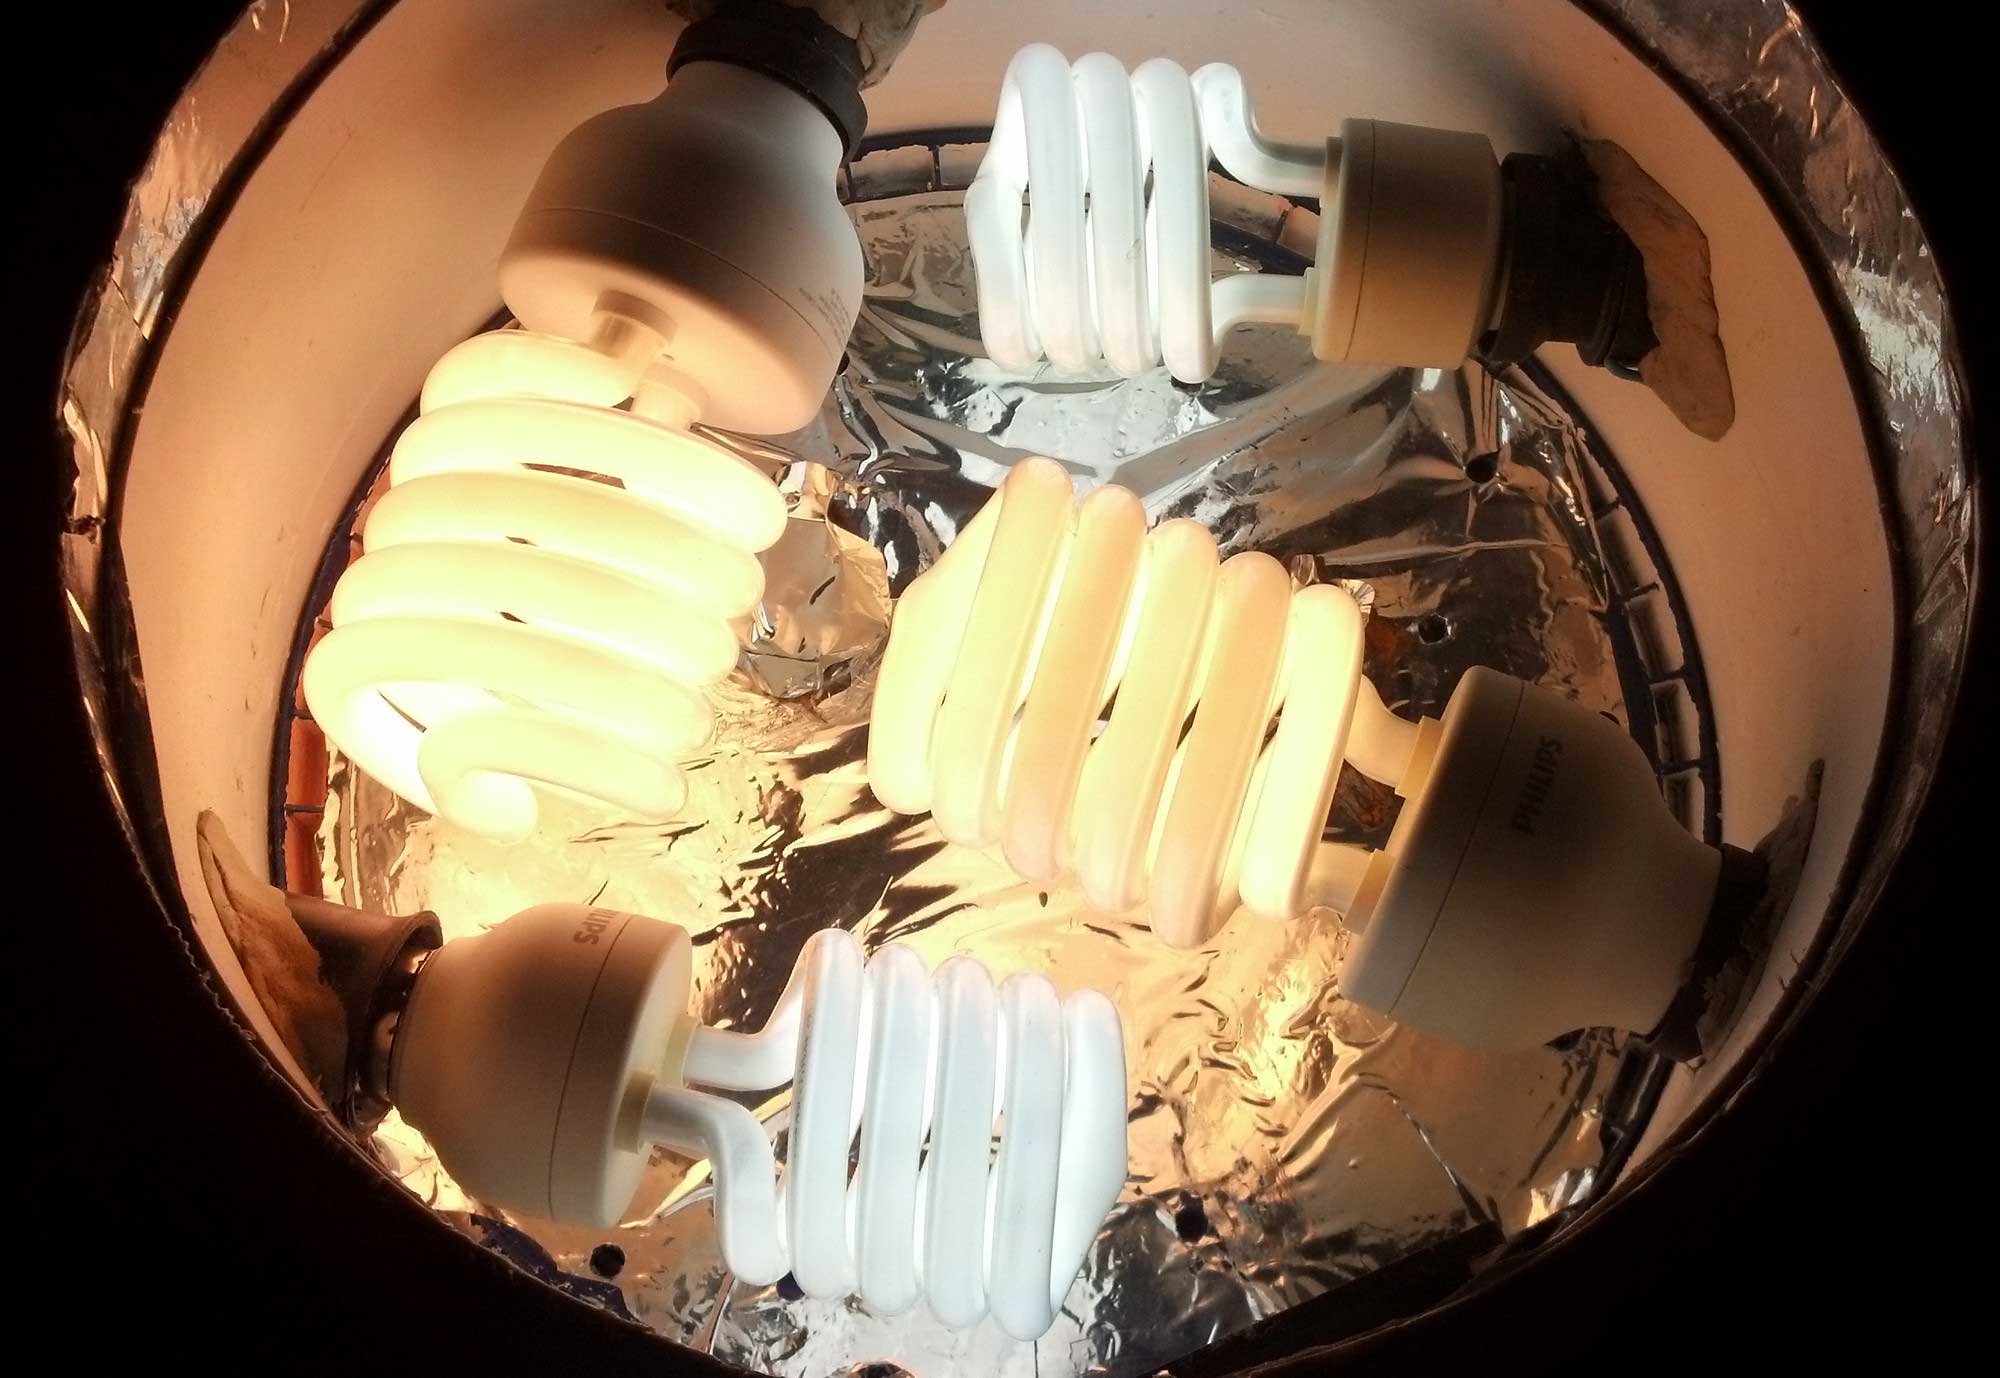
Step 3: Install bulbs on lid
Here's the design I originally used for Space Bucket lids, though I've found the following design is far superior:
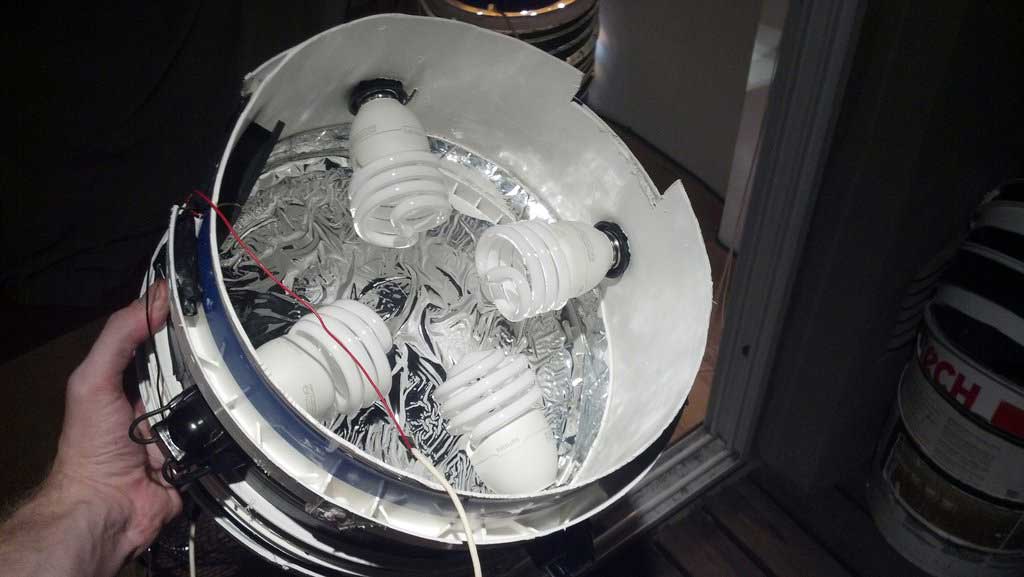
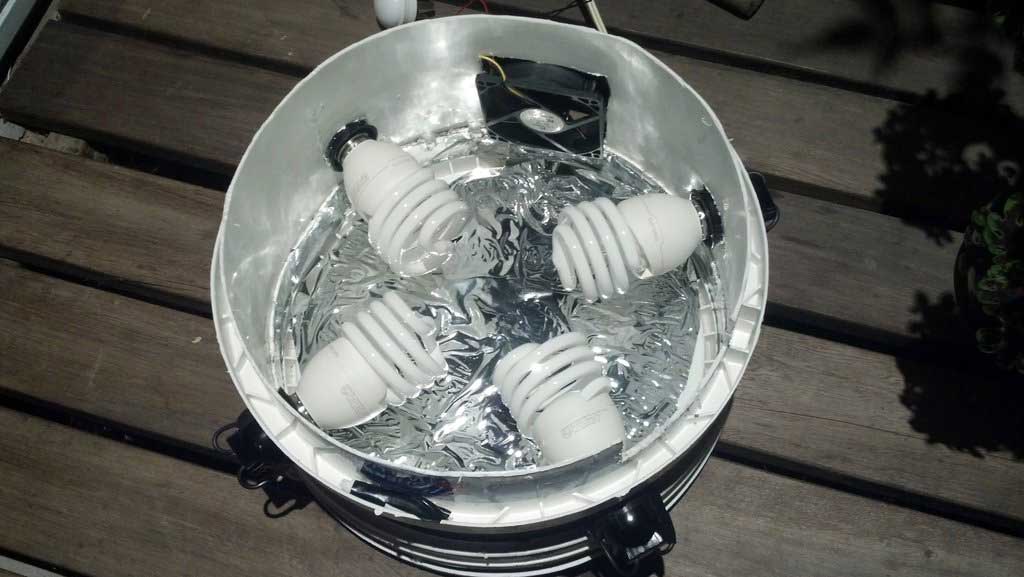
In this design, the lights are placed horizontally to maximize the amount of light given to the plants. This configuration also reduces the height needed (additional bucket tops) for your Space Bucket. You can add an extra exhaust fan to pull hot air out and away from your lights.
Pick a bucket lid and make holes for the bulb sockets. Wire them in parallel with cable and a plug. Here's a diagram I made on how to wire your lights in parallel for your space bucket.
Use wire nuts!
You can use a light fixture to simplify this step, but it's not ideal. It's better to wire your own lights.
Once the wiring is done, glue a container on the lid for safety, like this:
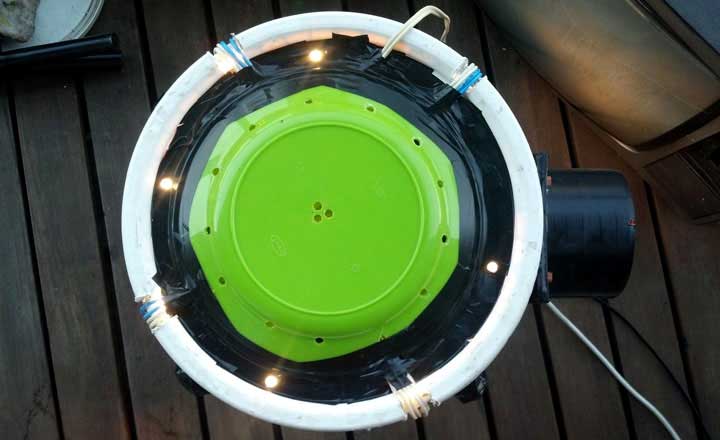
You can use a lot of things for this, but never use aluminium foil or any other conductive material.
You can also make a light-top to fit more CFL wattage inside the bucket. This allows for sideways bulbs, and should be more effective than light-lids. Check the Optional Extras & Upgrades section for more information about this superior design as well as other tricks!
Step 4: Glue Power Strip To Side of Bucket
 It is now time to glue a power strip to one side of the bucket.
This is where you will connect the plug from the lights (and timer) and the 12v power supply for the fans, among other things.
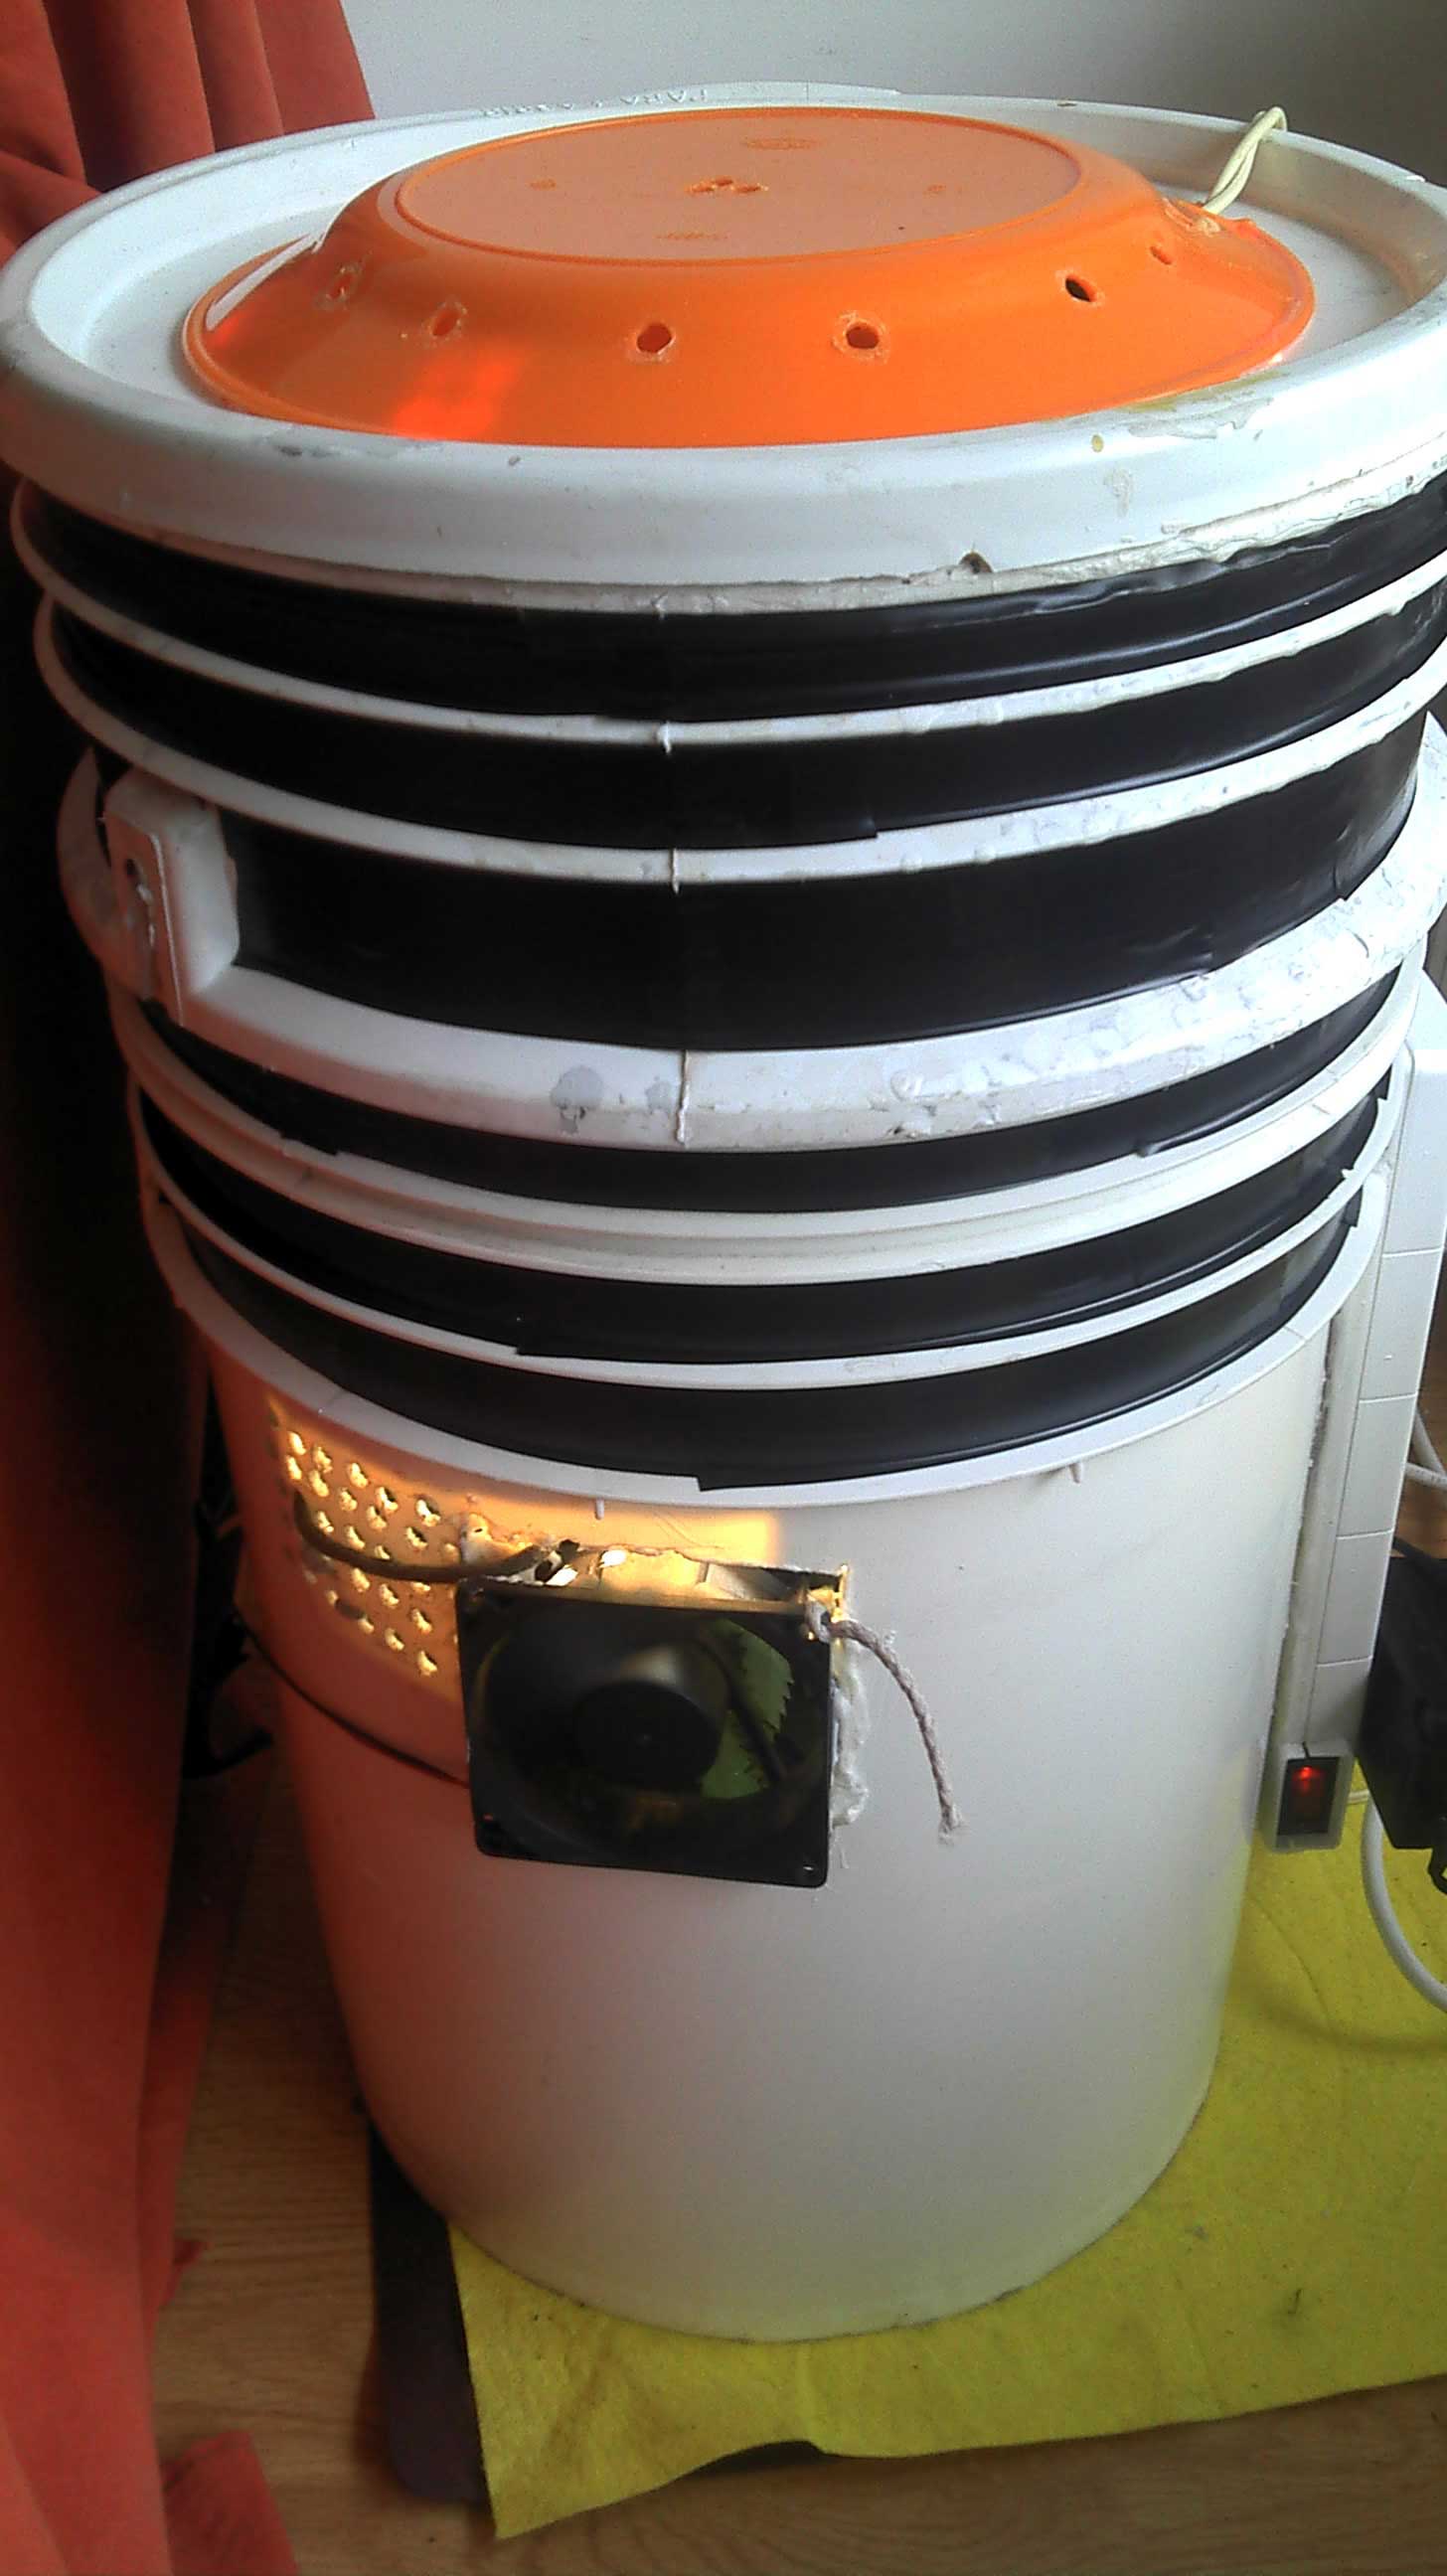
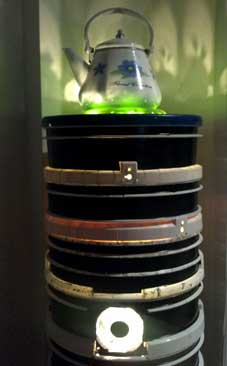
Step 5: Cut off tops from all buckets except one, and stack them on top of each other to give your bucket adjustable height
Cut the top off every bucket but the main one, leaving some inches of the plastic wall.
The tops will be stacked to the main bucket to alter the height of the lights.
This allows you to adjust your lights easily as your plants grow.
Put reflective material inside and tape outside.
Step 6: Light-proof your finalized space bucket and connect everything together
You can now connect and assemble your indoor garden.
Use black tape (or paint) and glue to cover holes and make the bucket as lightproof as possible, this step is for details and finishing touches.
Connect the timer, lights and 12v supply to the power strip, and then the strip to a socket.
That's it!
That is it, you’re done!
You now have a fully functional Space Bucket.
Plant directly in the main bucket, turn on the lights and timer, and watch life thrive and grow.
You can always add more bucket tops if you need more height for the lights, and CFL bulbs can be upgraded to 42w (watch out for the additional heat put out by these bigger lights).
You should keep in mind that this is the basic Space Bucket design: please check Optional Extras and Upgrades and Learn to grow section for advanced techniques. Good luck!
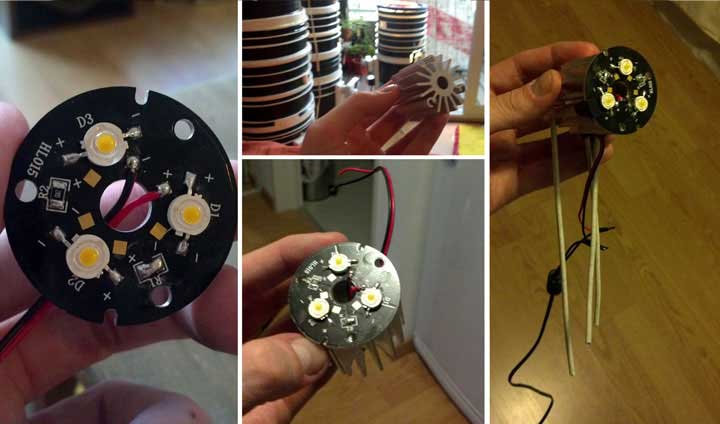
Space Buckets can be upgraded with a LED spotlight, which is also easy to make and relatively cheap.
There are many types of LED lights; the one used in this quick guide is a 3x3w High-Power LED module (here's a PDF with the technical specifications of the LED light), warm white.
The resulting LED thing can be used to focus light on a specific part of the plant. Modules and instructions may vary.
The image below explains the procedure:
1.) Take the module and attach a passive cooler (with thermal paste).
2.) Connect cables to a 12v power supply with the proper amperage.
3.) Add some legs to plant the spotlight. Finished!
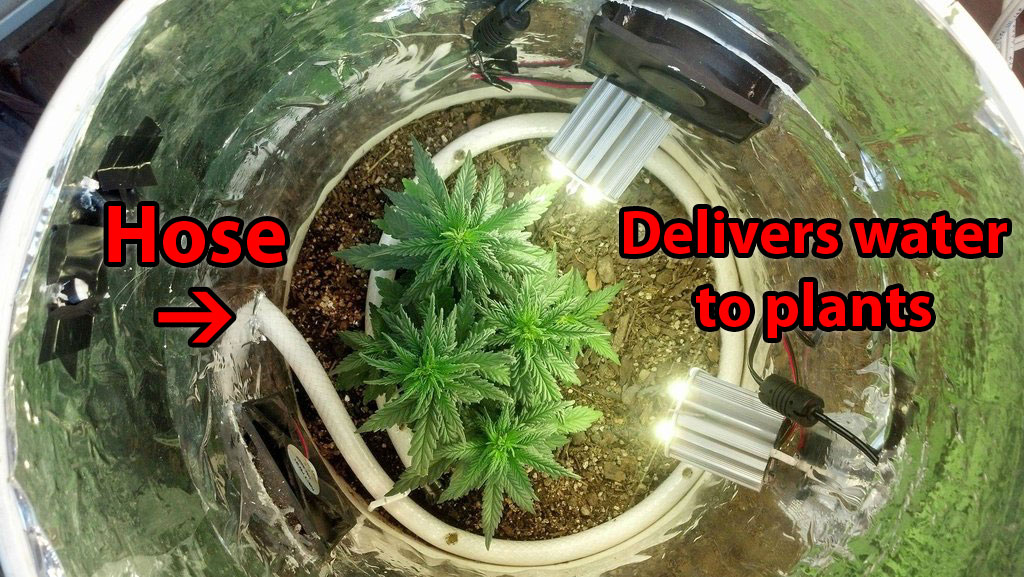
You can also update you Space Bucket with a safer and simple watering system that uses gravity to push water out of a hose.
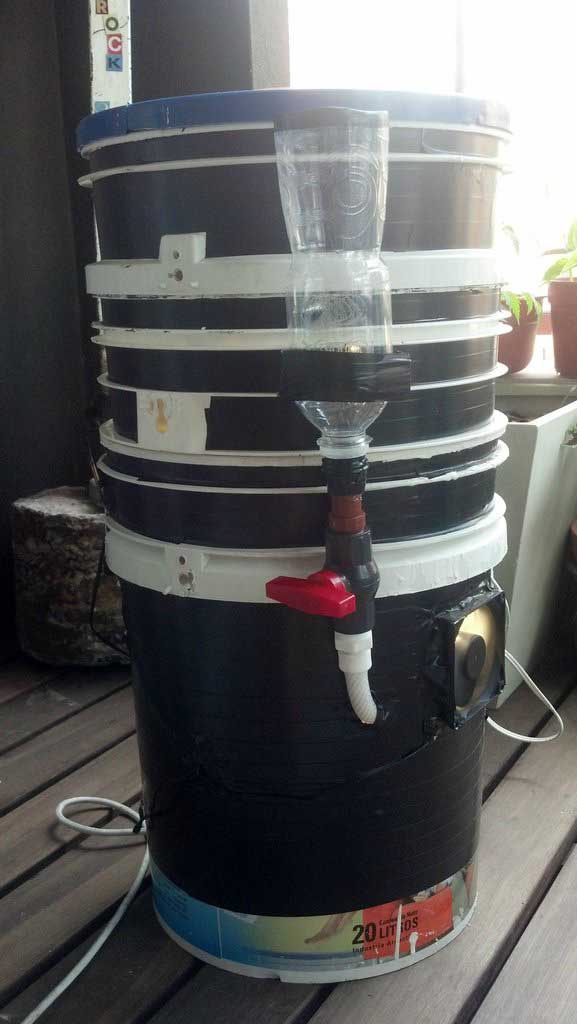
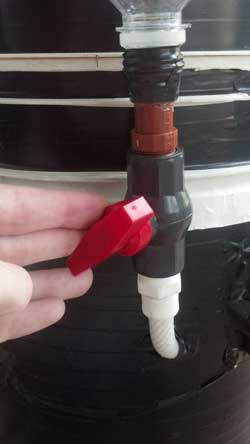
The basic idea is to make a hole on the side of the bucket and put some kind of hose through it, making sure that the angle will allow the water to flow.
A cointaner and a valve is added to control the amount of water used.
Another recommended update is the light-top, a new way of installing the CFL bulbs on the Space Buckets.
This design uses sockets added to bucket-tops to fit about 4 sideways bulbs.
Here's an example of one possible configuration with stacked light-tops (total of 192W)
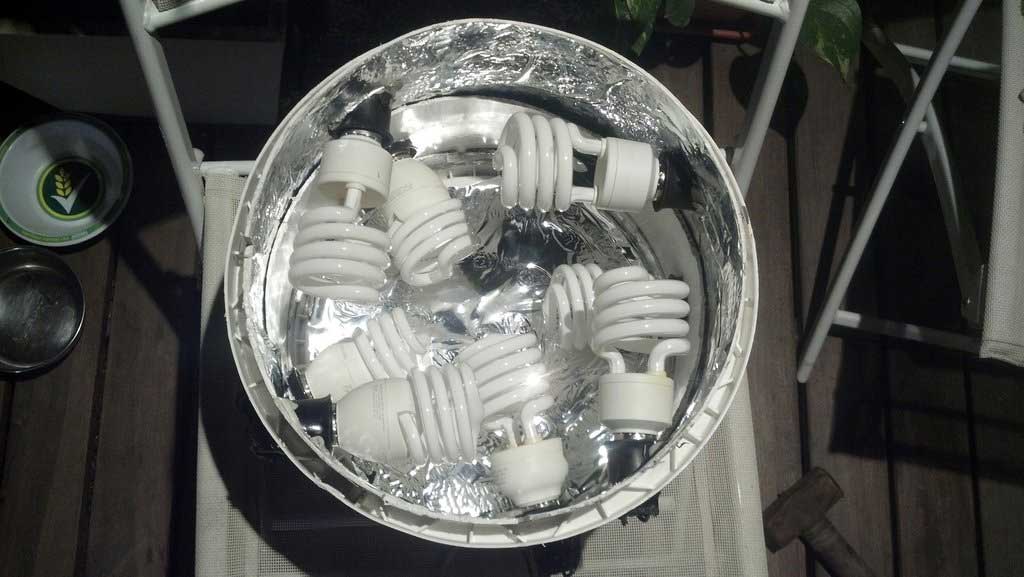

Here is another (this one is unstacked) light-top with 138w, which uses much larger CFLs:
With this much wattage, a more powerful fan will be needed to extract the heat from the bulbs. A 220v fan can be mounted on the light-top for this purpose. Make sure this fan is pointing outward from the inside of your bucket, to pull hot air away from the lights and out the top.

Tips for growing marijuana in your Space Bucket
There are a few techniques that can be used to optimize the Space Buckets. It is essential to keep the plants relatively short, and bushy as possible. Training, topping and pruning is recommended.
 LST (low-stress training) is a basic tool for keeping the height of the plant under control. Simply tie the branches to the sides of the buckets, or directly onto the soil. Combined with topping, this method keeps the plants low and bushy.
If the plant has many bucket tops, the canopy will surely be under more heat, as the ventilation is generally at ground level. In this case, a third PC fan can be added to a bucket top for more mobile ventilation. A standard 1A 12v power supply should be able to run three fans, depending on their amperage usage; if it doesn’t work, the active intake at ground level can be disabled.
Odor control is still work in progress, as PC fans are too weak to work effectively as carbon scrubbers.
This DIY on how to control odor seems interesting and should work for some.
Safety first! Be extra careful with watering. Always disconnect the power, and keep an eye on splashes. Watch out for water runoff.
Additional Space Bucket Resources
Visit the official Space Buckets website
Join the Space Buckets growing community on Reddit
As someone without a lot of room to grow, I found myself searching for a way to grow marijuana plants that was easy and could fit in my apartment. I began to experiment with growing in buckets.
Space Buckets have proven to be an easy and inexpensive to set up while plants thrive. After I made my first space bucket, the rest was history. I've been building the Space Buckets community over the last year and I invite you to join us.
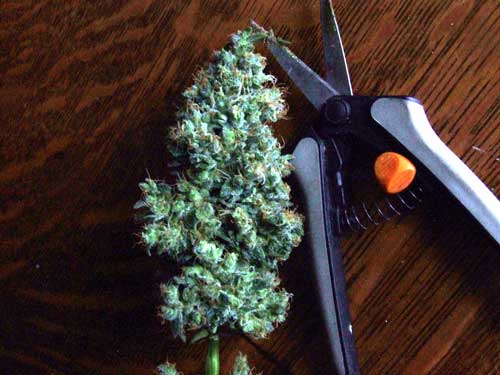
My very first Space Bucket
This was my first harvest with a Space Bucket!
Nebula's Pick:
Best Strain For Your Space Bucket
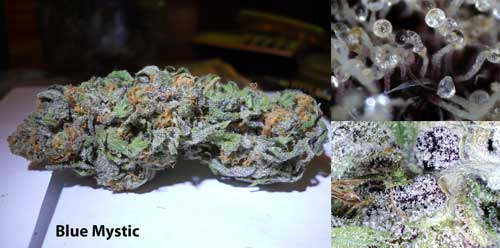
Blue Mystic (feminized + autoflower)
-
Auto-flowering - Just give her light/water/soil and she'll automatically start producing buds on her own
-
Feminized - seeds only grow into female plants, so all plants grown from these seeds produce buds
-
Tough - Strain makes hardy plants that are surpsingly resilient against problems
-
Stays Short - Plants naturally grow into very short plants (perfect for a small growing space like a Space Bucket)
-
Ultra-short grow time - Seed to Harvest in only 2.5 months
-
Neutral smell - Unlike most strains, plants don't produce a strong marijuana smell while growing (I would describe the smell as neutral and slightly flowery)
-
Unique blue color - Buds have unusual blue hues and a berry-like aftertaste
Get Blue Mystic (feminized + autoflower) seeds today!
Jump to...
Super Cropping Marijuana: Simple Secret to Bigger Yields
7 Things I Wish Someone Had Told Me When I First Started Growing Weed
How Long Does It Take to Grow Weed?
Check These 6 Things & Cure 99% of Marijuana Growing Problems